SKU: OT2085-B118 Numéro d’article: NA171 EAN: 8126478667001

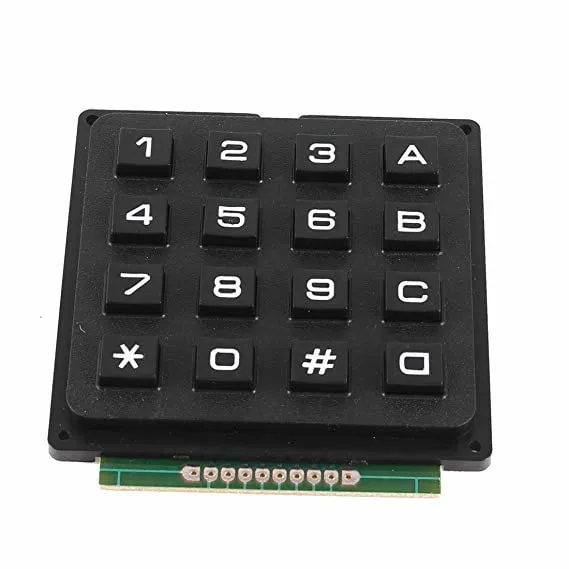
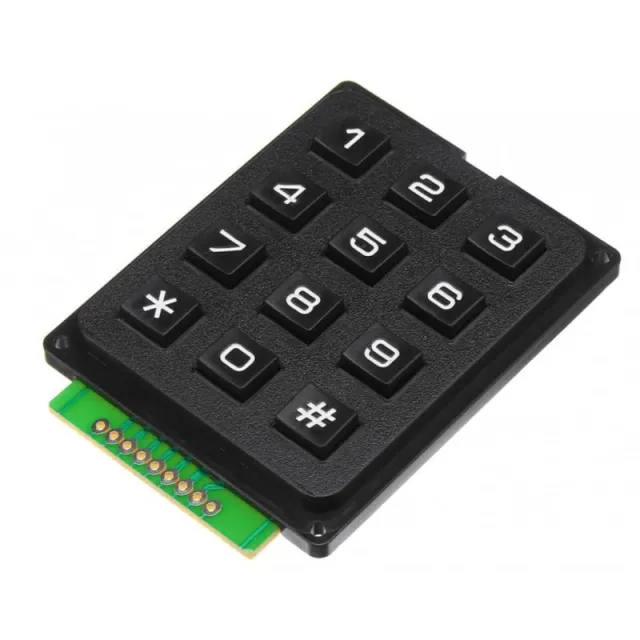
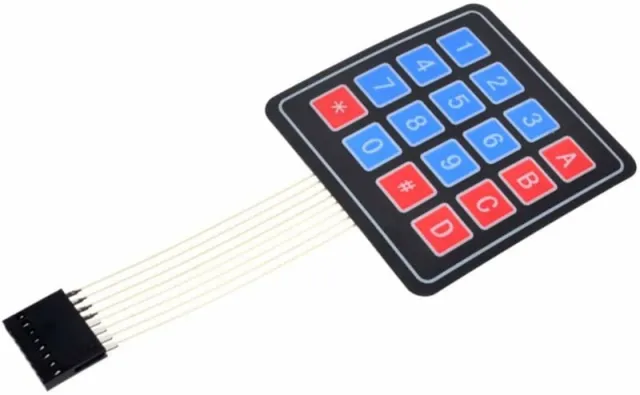
Clavier à touches en plastique. Idéal par exemple pour saisir un code d’accès.
Le clavier est équipé de commutateurs à membrane et toutes les touches sont numérotées de 0 à 9, ainsi que des caractères * et #. À droite se trouvent encore 4 touches avec A, B, C et D
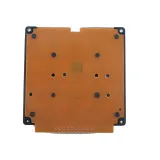
Le module est très adapté à l’encastrement. Le module comporte également quatre trous de 2 mm pour le montage.
Dimensions
Longueur : 6,9 cm
Largeur : 6,5 cm
Hauteur : 1 cm
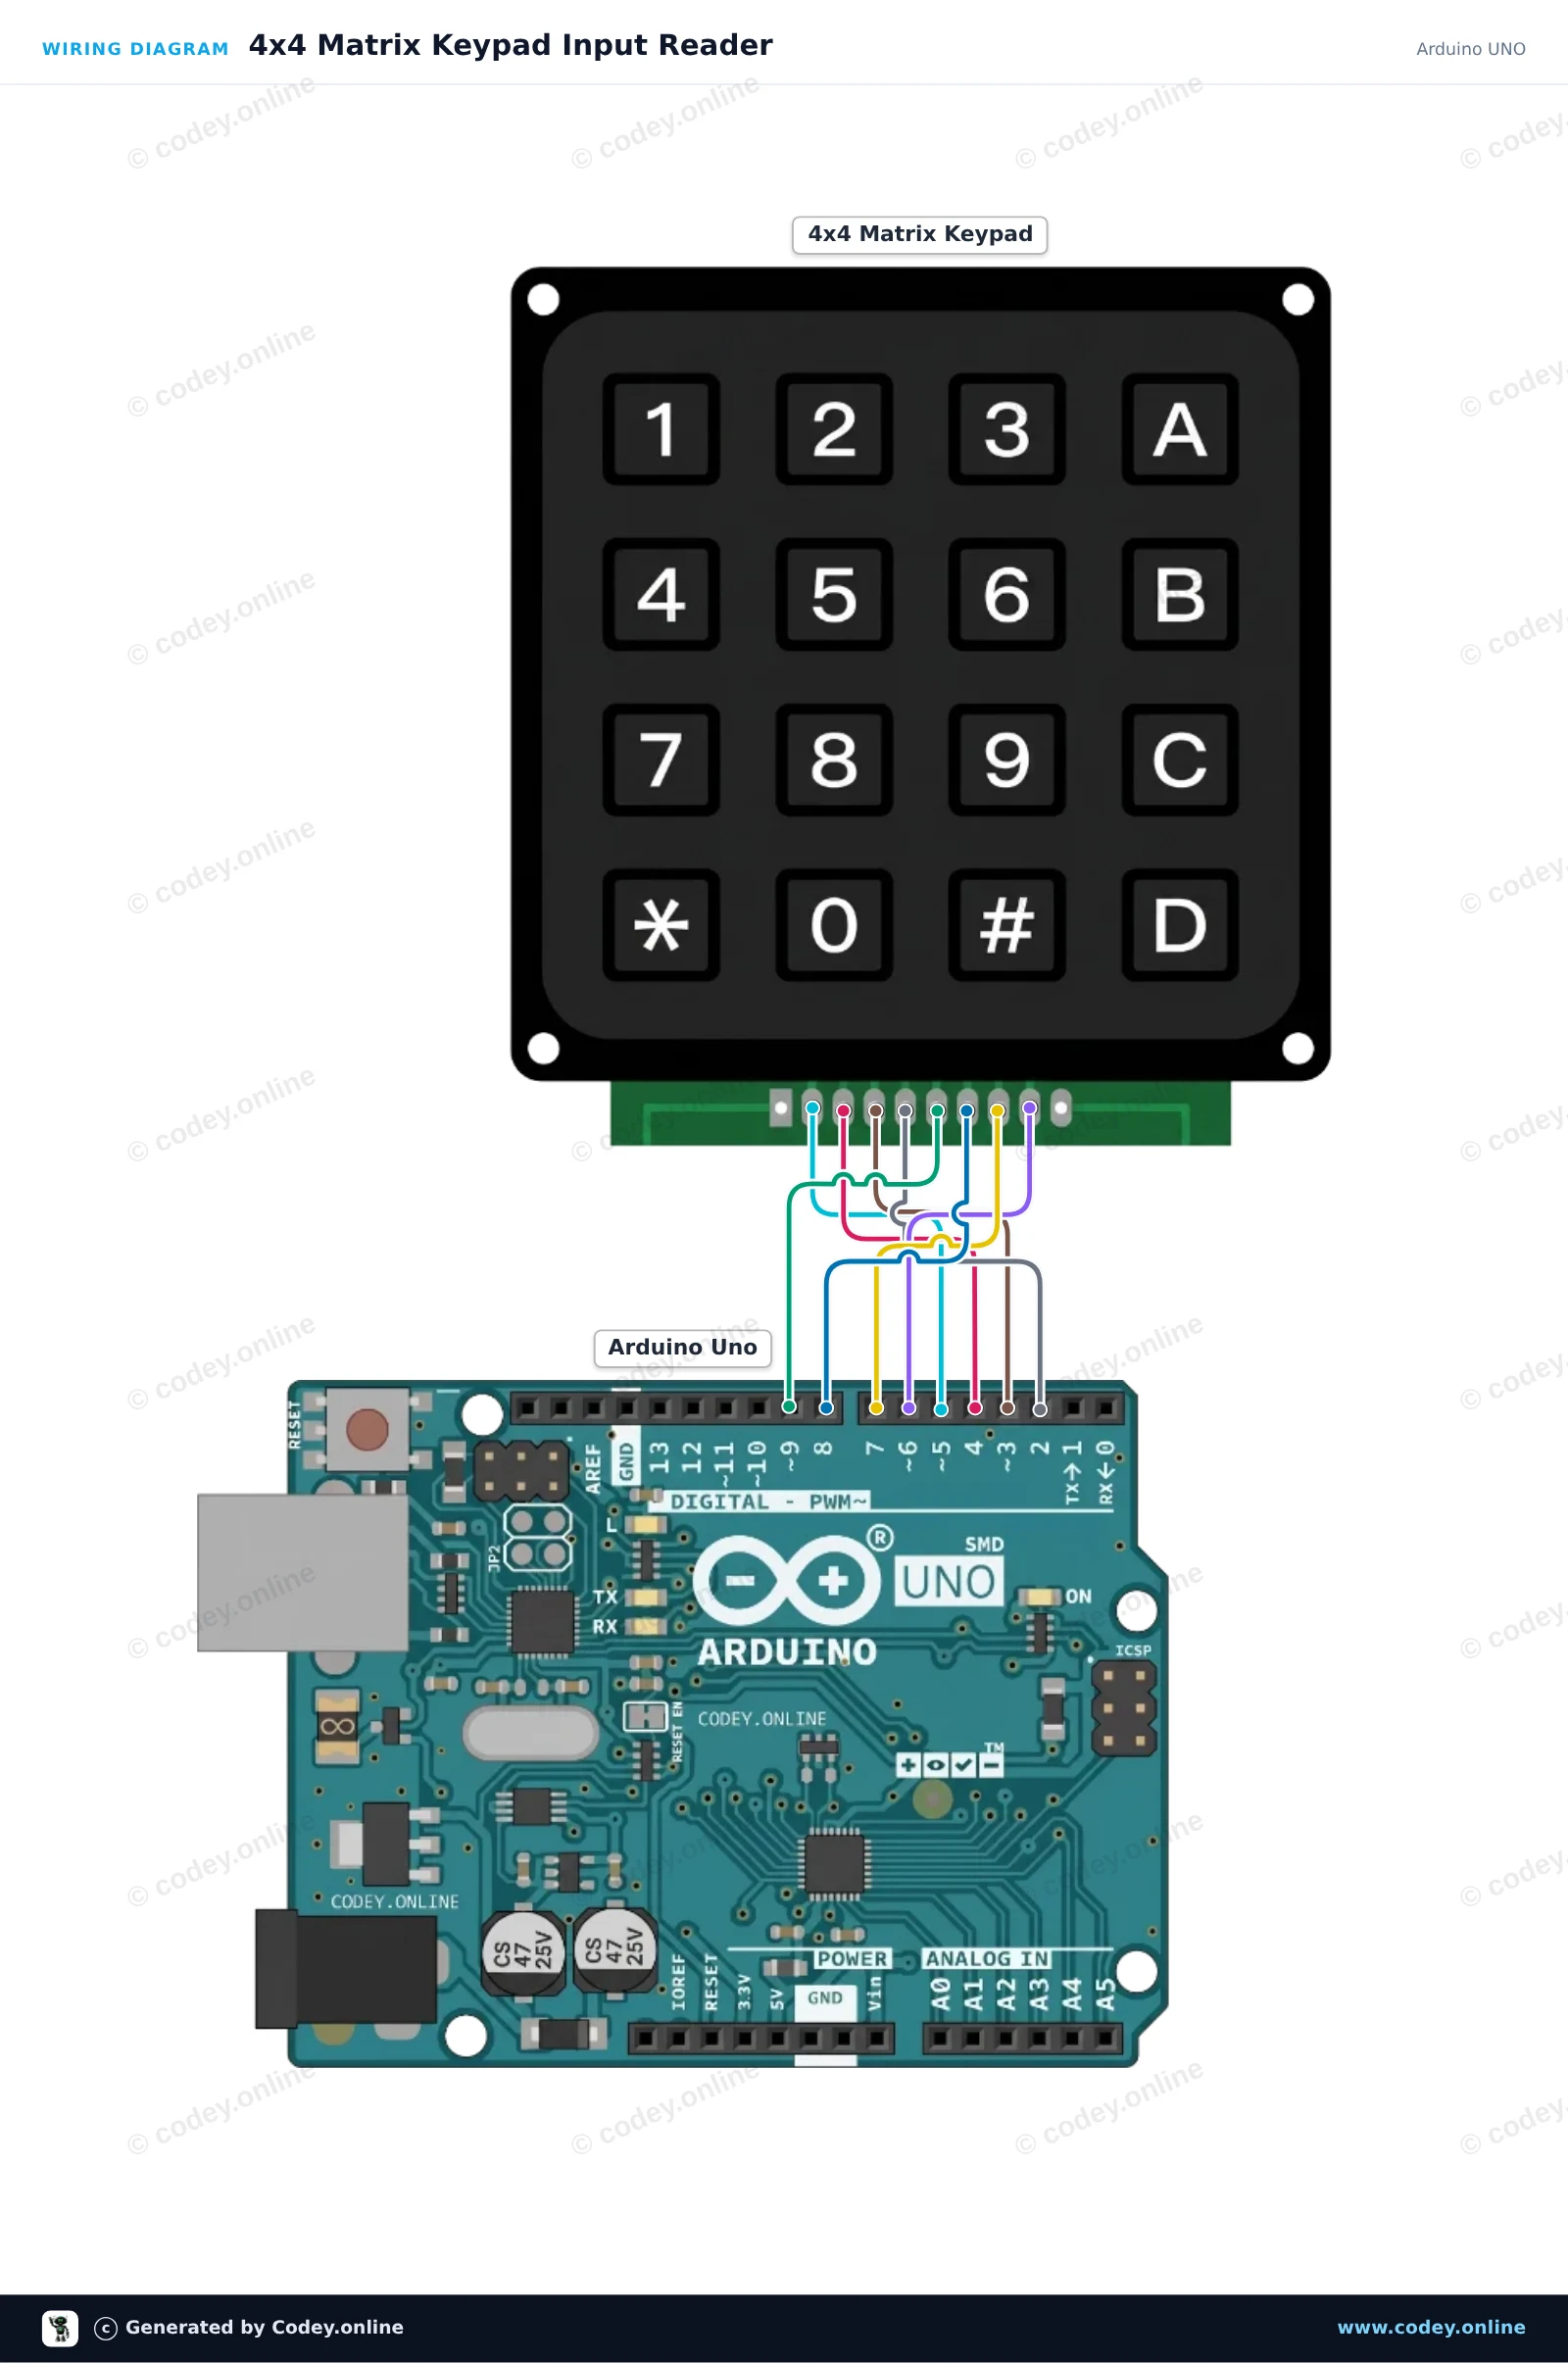
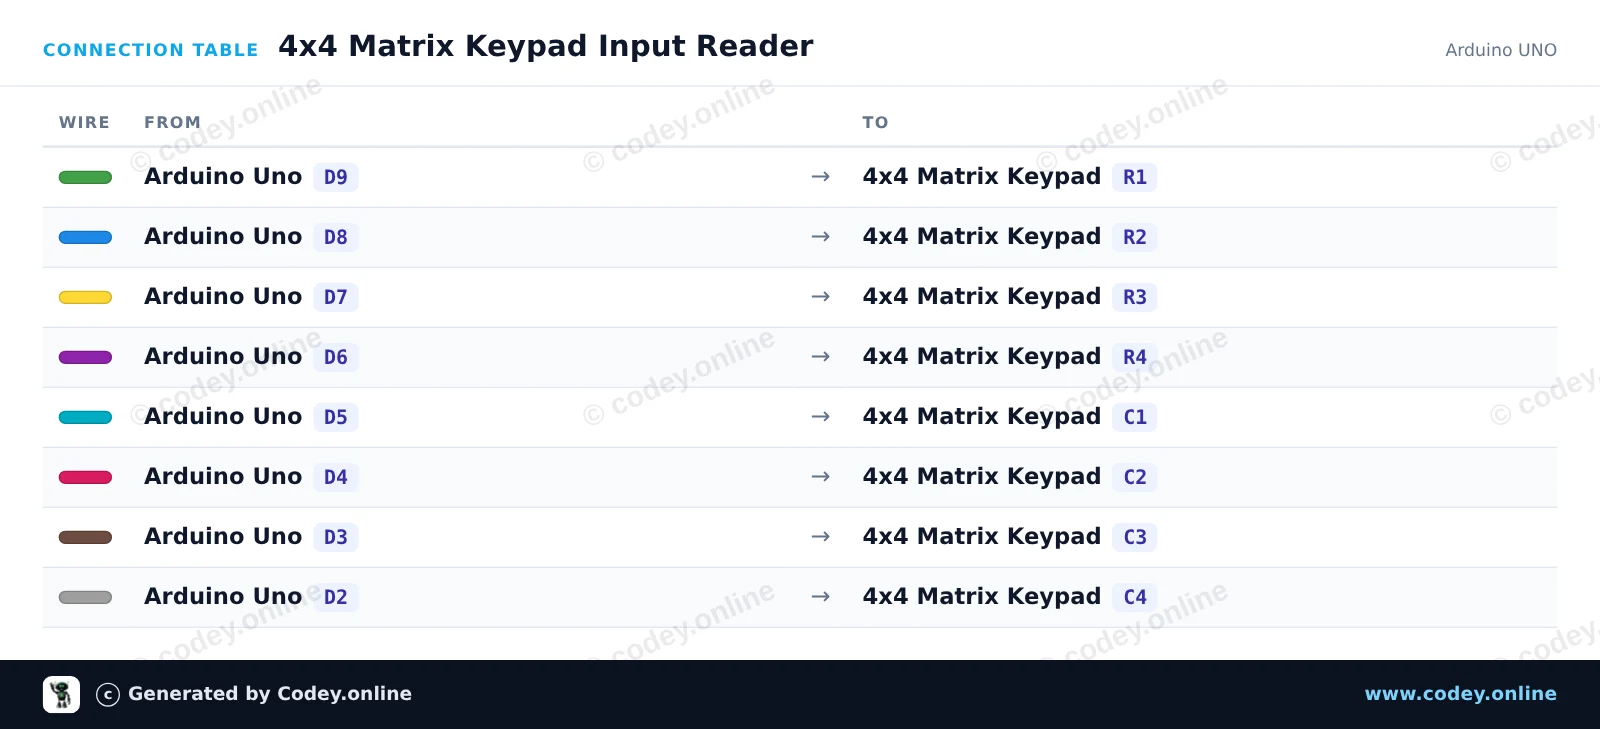
Voici comment connecter le clavier matriciel 4x4 noir à un Arduino UNO ou à un ESP32, avec un exemple de sketch que tu peux téléverser directement.
Ce projet montre comment lire les entrées d’un clavier matriciel 4x4 à l’aide d’un Arduino Uno. Lorsqu’un bouton du clavier est enfoncé, le caractère correspondant s’affiche directement dans le Moniteur Série à 115200 baud.
/*
 * ==================================================================
 *  Generated by Codey.online  —  https://www.codey.online
 * ==================================================================
 *  Project   : 4x4 Matrix Keypad Input Reader
 *  Board     : Arduino UNO (arduino:avr:uno)
 *  Parts     : Keypad 4x4
 *  Libraries : Keypad 3.1.1
 *
 *  Codey Online is an AI-powered browser IDE for Arduino and ESP32.
 *  Describe your project and Codey writes the code, draws the wiring
 *  diagram and uploads it to your board, straight from the browser.
 *  This code is free to use, modify and share, without warranty.
 * ==================================================================
 */

#include <Keypad.h>

const byte ROWS = 4;
const byte COLS = 4;

char keys[ROWS][COLS] = {
  {'1', '2', '3', 'A'},
  {'4', '5', '6', 'B'},
  {'7', '8', '9', 'C'},
  {'*', '0', '#', 'D'}
};

byte rowPins[ROWS] = {9, 8, 7, 6};
byte colPins[COLS] = {5, 4, 3, 2};

Keypad keypad = Keypad(makeKeymap(keys), rowPins, colPins, ROWS, COLS);

void setup() {
  Serial.begin(115200);
  Serial.println(F("4x4 Keypad Demo"));
  Serial.println(F("Press any key on the keypad..."));
}

void loop() {
  char key = keypad.getKey();

  if (key) {
    Serial.print(F("Key Pressed: "));
    Serial.println(key);
  }
}Bibliothèques nécessaires : Keypad 3.1.1
Wiring diagram and example code generated by Codey.online — https://www.codey.online
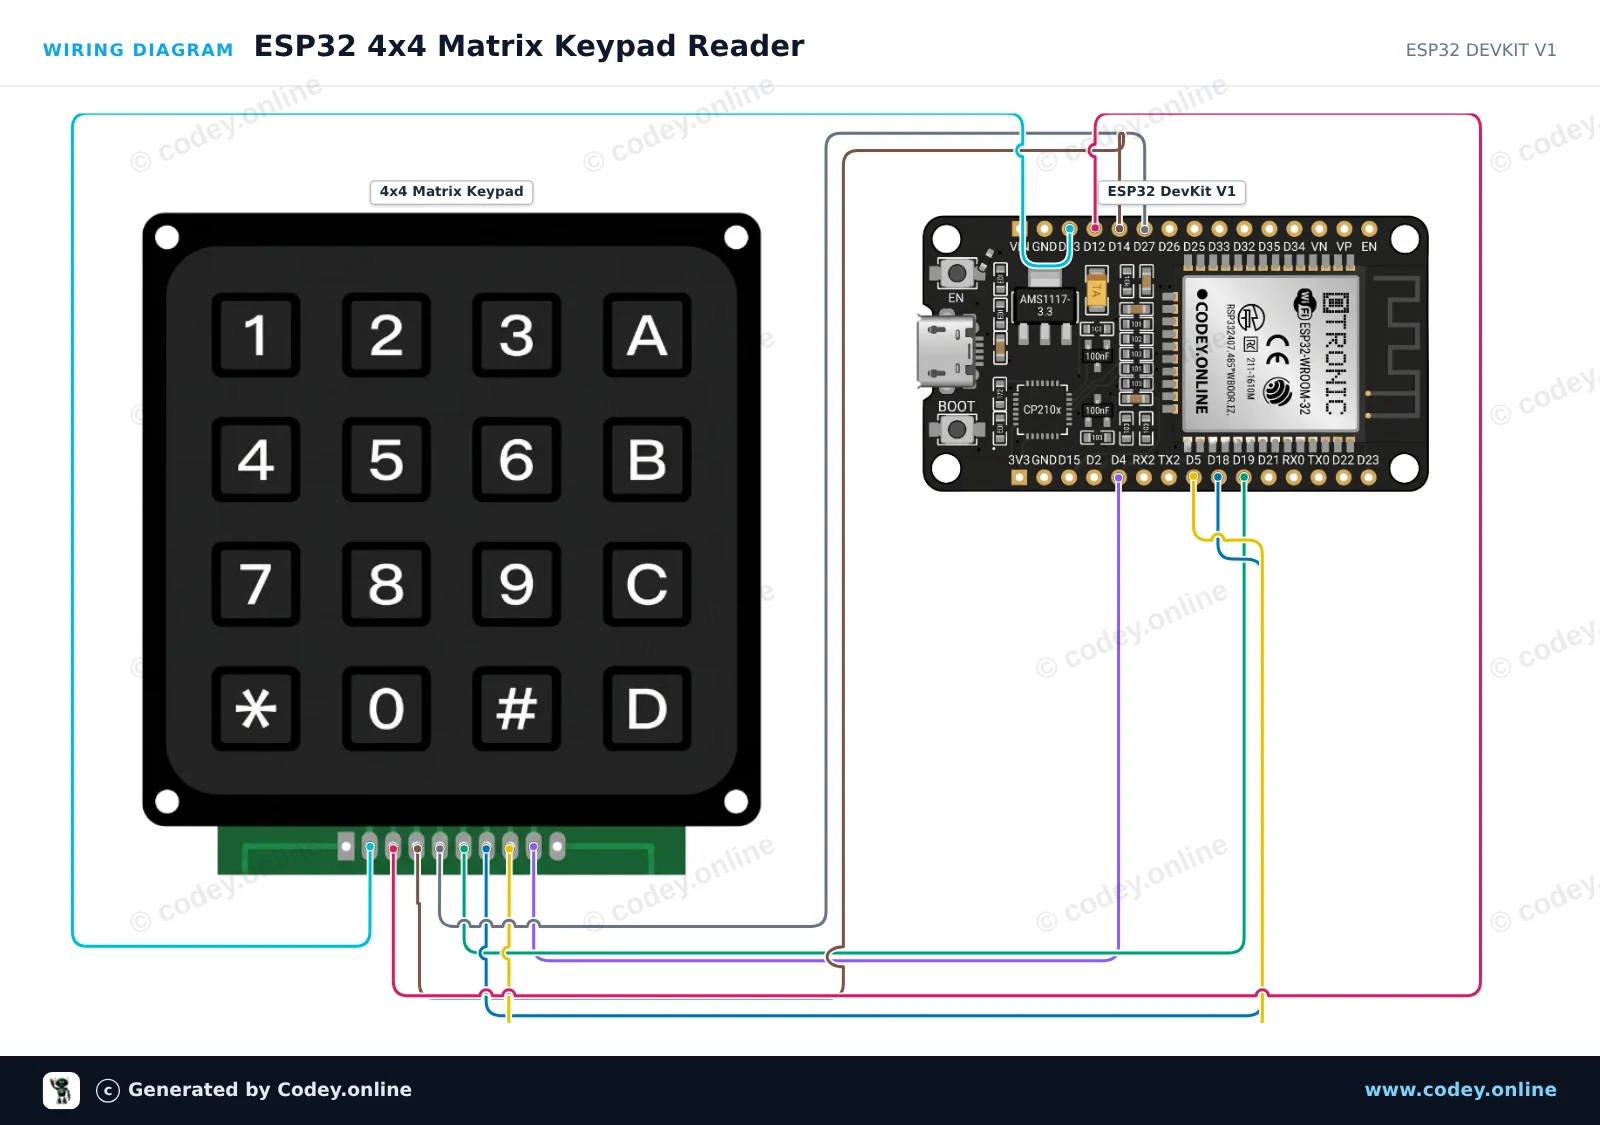
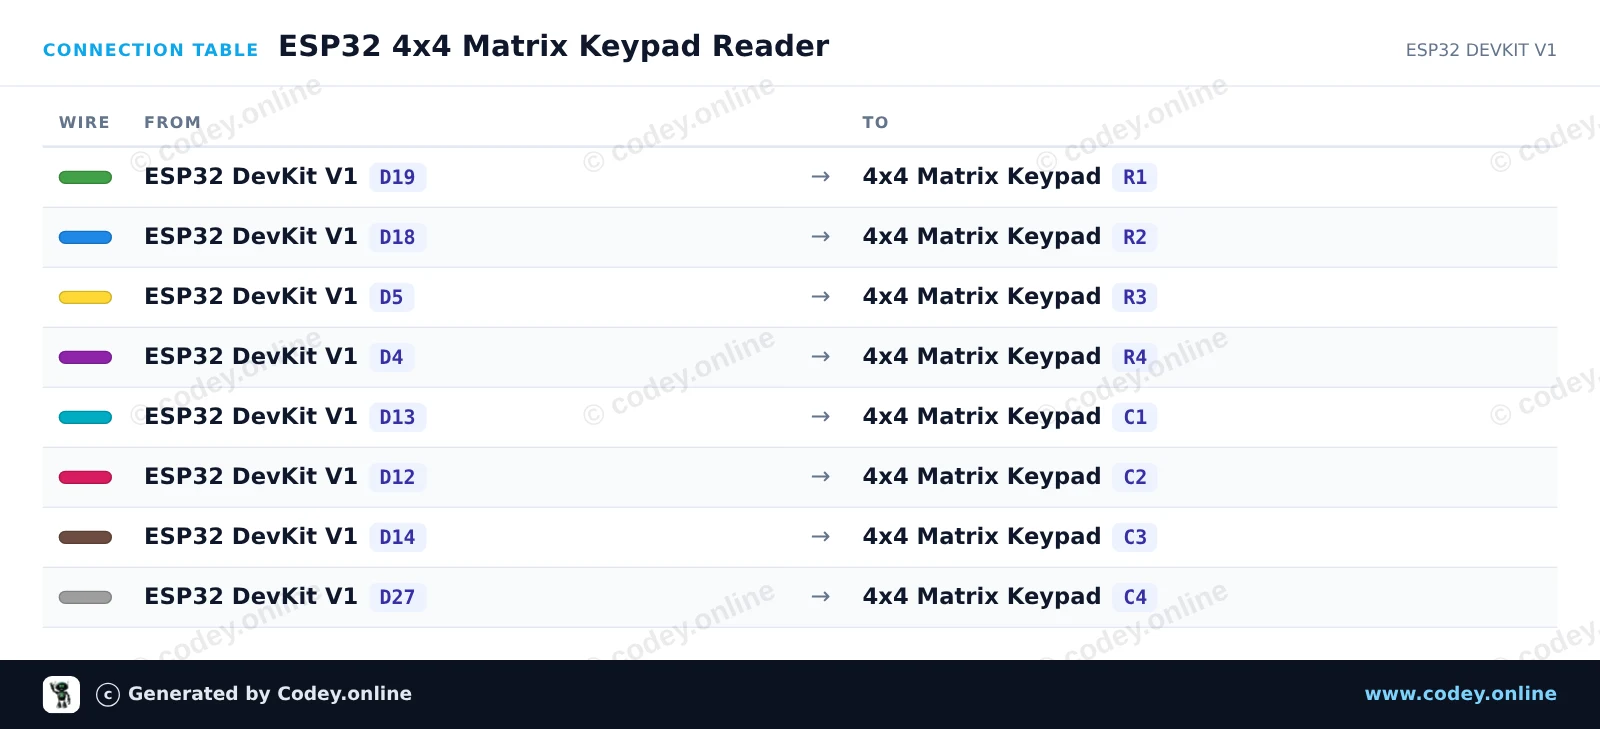
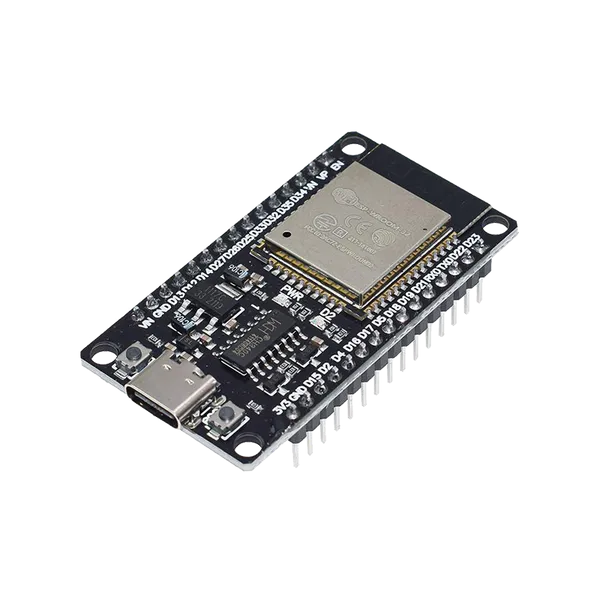
Ce circuit connecte directement un clavier matriciel 4x4 aux GPIO de l’ESP32. La Keypad library analyse les lignes et colonnes de la matrice à l’aide de résistances de pull-up internes. Lorsque vous appuyez sur une touche, son caractère s’affiche en temps réel dans le Serial Monitor.
/*
 * ==================================================================
 *  Generated by Codey.online  —  https://www.codey.online
 * ==================================================================
 *  Project   : ESP32 4x4 Matrix Keypad Reader
 *  Board     : ESP32 DEVKIT V1 (esp32:esp32:esp32doit-devkit-v1)
 *  Parts     : Keypad 4x4
 *  Libraries : Keypad 3.1.1
 *
 *  Codey Online is an AI-powered browser IDE for Arduino and ESP32.
 *  Describe your project and Codey writes the code, draws the wiring
 *  diagram and uploads it to your board, straight from the browser.
 *  This code is free to use, modify and share, without warranty.
 * ==================================================================
 */

#include <Keypad.h>

const byte ROWS = 4;
const byte COLS = 4;

char keys[ROWS][COLS] = {
  {'1', '2', '3', 'A'},
  {'4', '5', '6', 'B'},
  {'7', '8', '9', 'C'},
  {'*', '0', '#', 'D'}
};

byte rowPins[ROWS] = {19, 18, 5, 4};
byte colPins[COLS] = {13, 12, 14, 27};

Keypad keypad = Keypad(makeKeymap(keys), rowPins, colPins, ROWS, COLS);

void setup() {
  Serial.begin(115200);
  Serial.println("4x4 Keypad Test Ready. Press any key...");
}

void loop() {
  char customKey = keypad.getKey();

  if (customKey) {
    Serial.print("Key pressed: ");
    Serial.println(customKey);
  }
}Bibliothèques nécessaires : Keypad 3.1.1
Wiring diagram and example code generated by Codey.online — https://www.codey.online





 English
  Nederlands
  Deutsch
  Italiano
  Español
  Suomi
Suomi  Polski
  Dansk
Dansk  Ελληνικά
  Български
  Čeština
  Hrvatski
  Aileen