Commandé les jours ouvrables avant 14:00 = expédié le jour même. 30 jours pour changer d’avis 1 an de garantie

Schéma de câblage et exemple de code

Voici comment connecter le Module série MAX3232 RS232 vers TTL à un Arduino UNO ou à un ESP32, avec un exemple de sketch que tu peux téléverser directement.

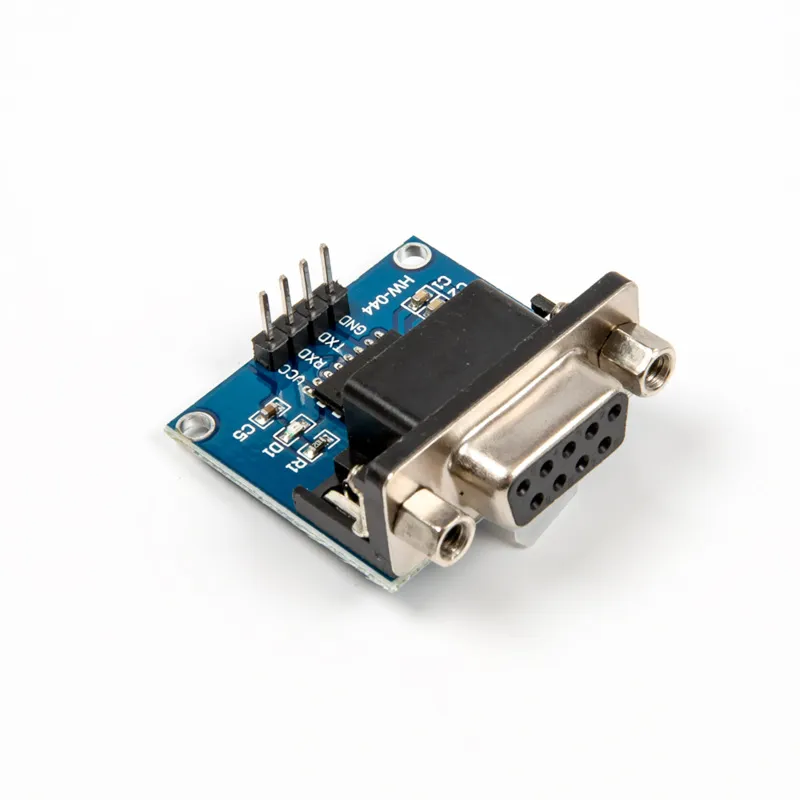
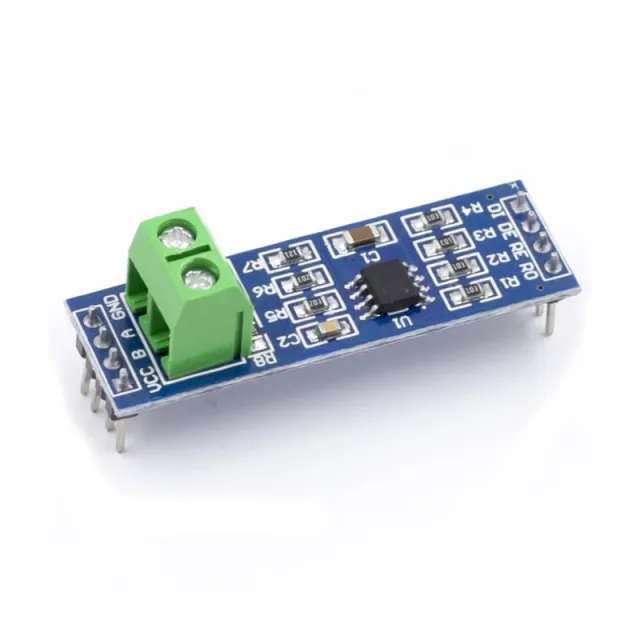
Pont série RS232 vers TTL MAX3232

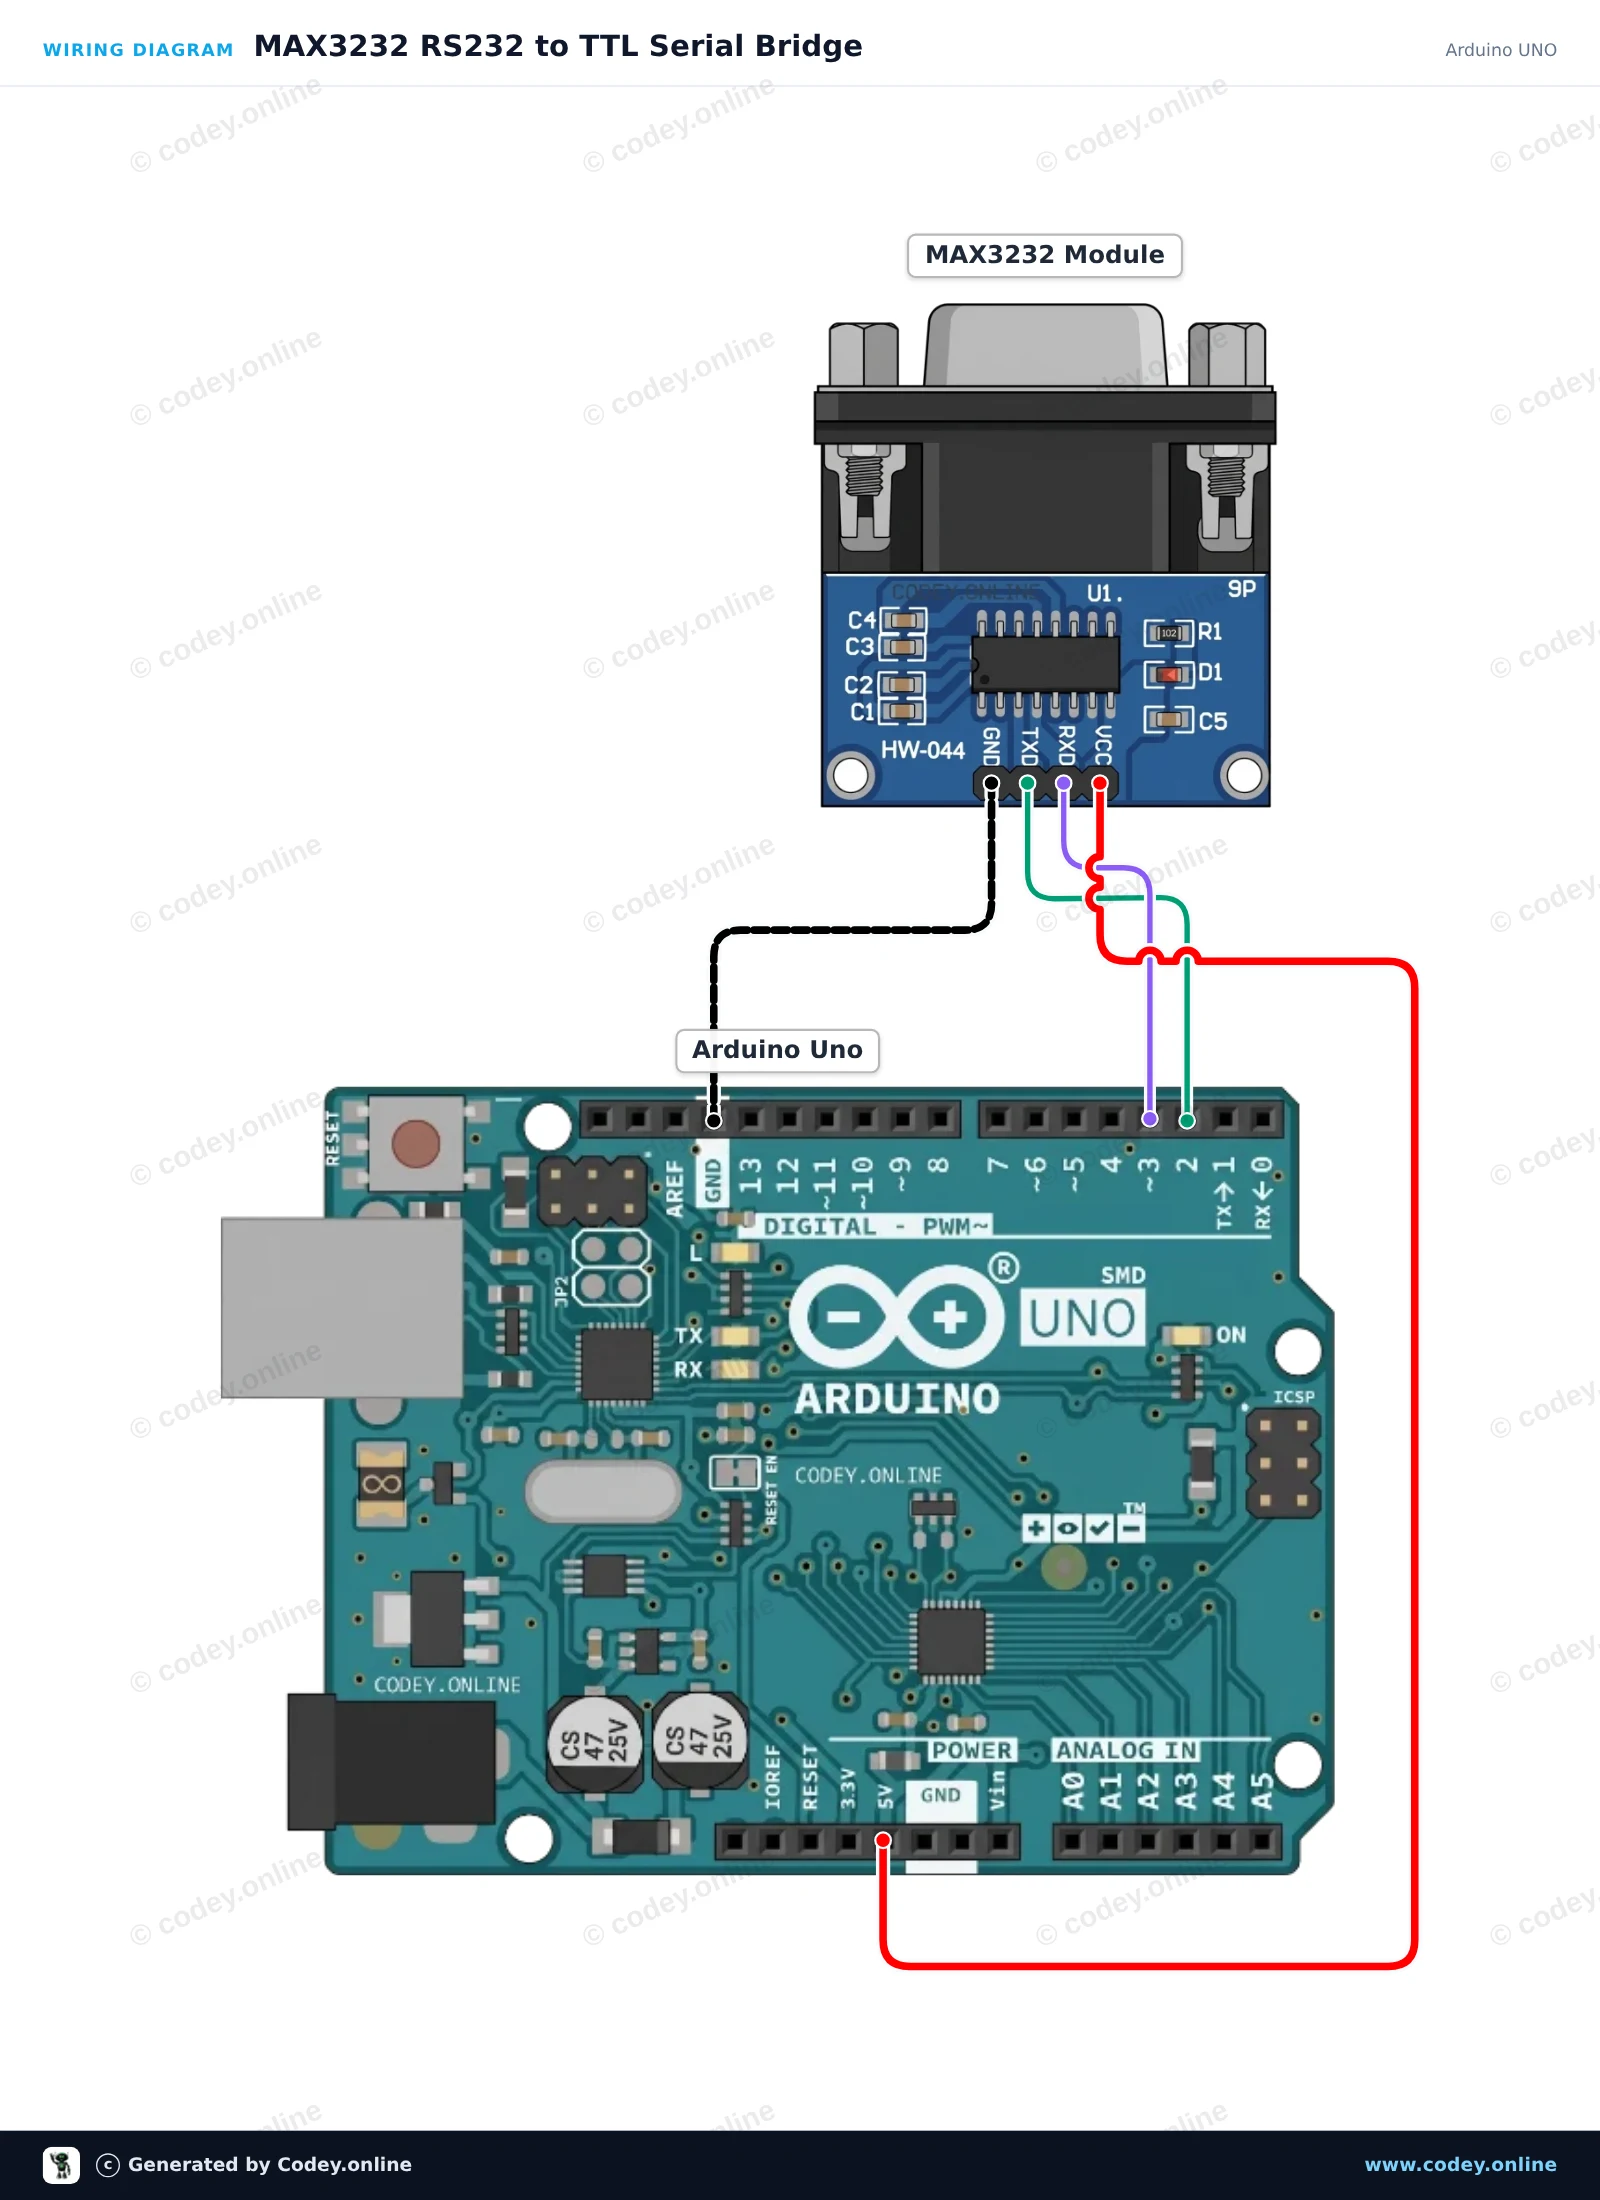
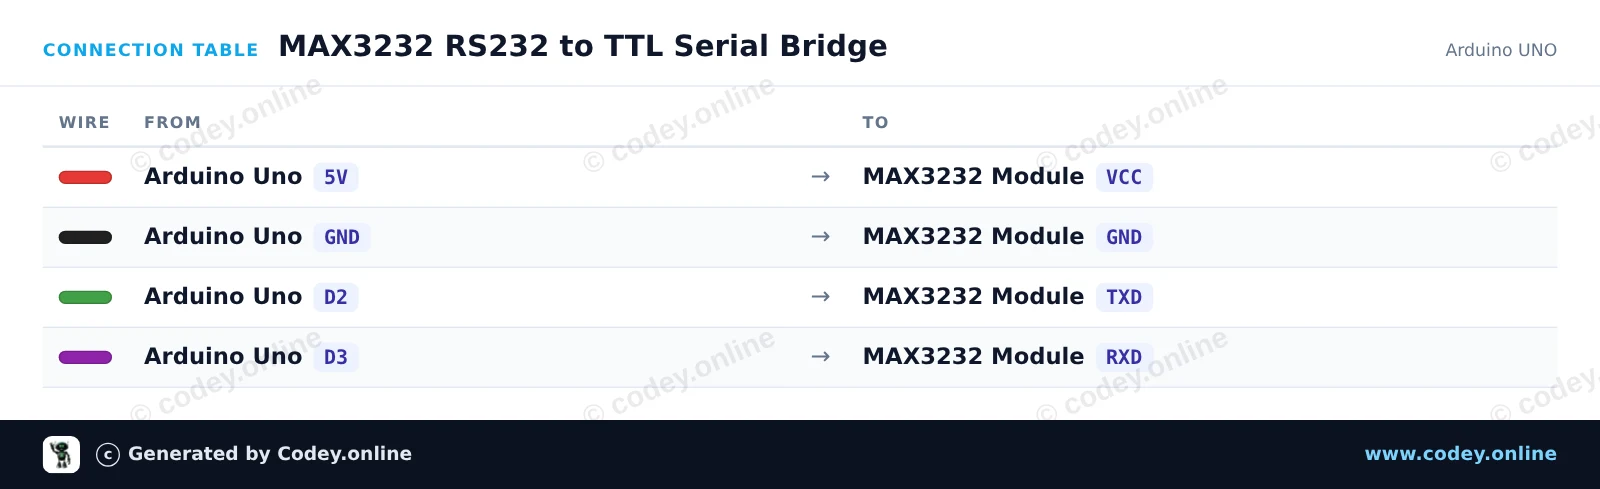
Ce projet met en place un pont série transparent entre le moniteur série USB de l’Arduino et un appareil RS232 via le module MAX3232. SoftwareSerial gère la communication sur les broches D2 et D3 à 9600 baud tout en laissant le port Serial matériel libre pour le moniteur de l’ordinateur. Chaque caractère saisi dans le Serial Monitor est transmis via RS232, et chaque octet RS232 entrant est affiché dans le moniteur.

Schéma de câblage : Module série MAX3232 RS232 vers TTL sur un Arduino UNO
Schéma de câblage · Cliquez pour agrandir
Tableau de câblage : Module série MAX3232 RS232 vers TTL sur un Arduino UNO
Tableau de câblage · Cliquez pour agrandir
MAX3232_RS232_to_TTL_Serial_Bridge.ino · compilé et testé
/*
 * ==================================================================
 *  Generated by Codey.online  —  https://www.codey.online
 * ==================================================================
 *  Project   : MAX3232 RS232 to TTL Serial Bridge
 *  Board     : Arduino UNO (arduino:avr:uno)
 *  Parts     : MAX3232 RS232 to TTL Serial Converter Module
 *  Libraries : none (built-in)
 *
 *  Codey Online is an AI-powered browser IDE for Arduino and ESP32.
 *  Describe your project and Codey writes the code, draws the wiring
 *  diagram and uploads it to your board, straight from the browser.
 *  This code is free to use, modify and share, without warranty.
 * ==================================================================
 */

#include <SoftwareSerial.h>

const uint8_t RX_PIN = 2; // Connect to MAX3232 TXD
const uint8_t TX_PIN = 3; // Connect to MAX3232 RXD

SoftwareSerial rs232Serial(RX_PIN, TX_PIN);

void setup() {
  Serial.begin(115200);
  rs232Serial.begin(9600);

  Serial.println(F("--- MAX3232 RS232 Bridge Ready ---"));
  Serial.println(F("Type in the Serial Monitor (115200 baud) to send over RS232 (9600 baud)."));
  Serial.println(F("Any response from the RS232 device will appear here."));
}

void loop() {
  // Forward characters from the USB Serial Monitor to the RS232 module
  while (Serial.available() > 0) {
    char c = Serial.read();
    rs232Serial.write(c);
  }

  // Forward characters from the RS232 module to the USB Serial Monitor
  while (rs232Serial.available() > 0) {
    char c = rs232Serial.read();
    Serial.write(c);
  }
}

Wiring diagram and example code generated by Codey.online — https://www.codey.online

Communication RS232 avec MAX3232 et ESP32

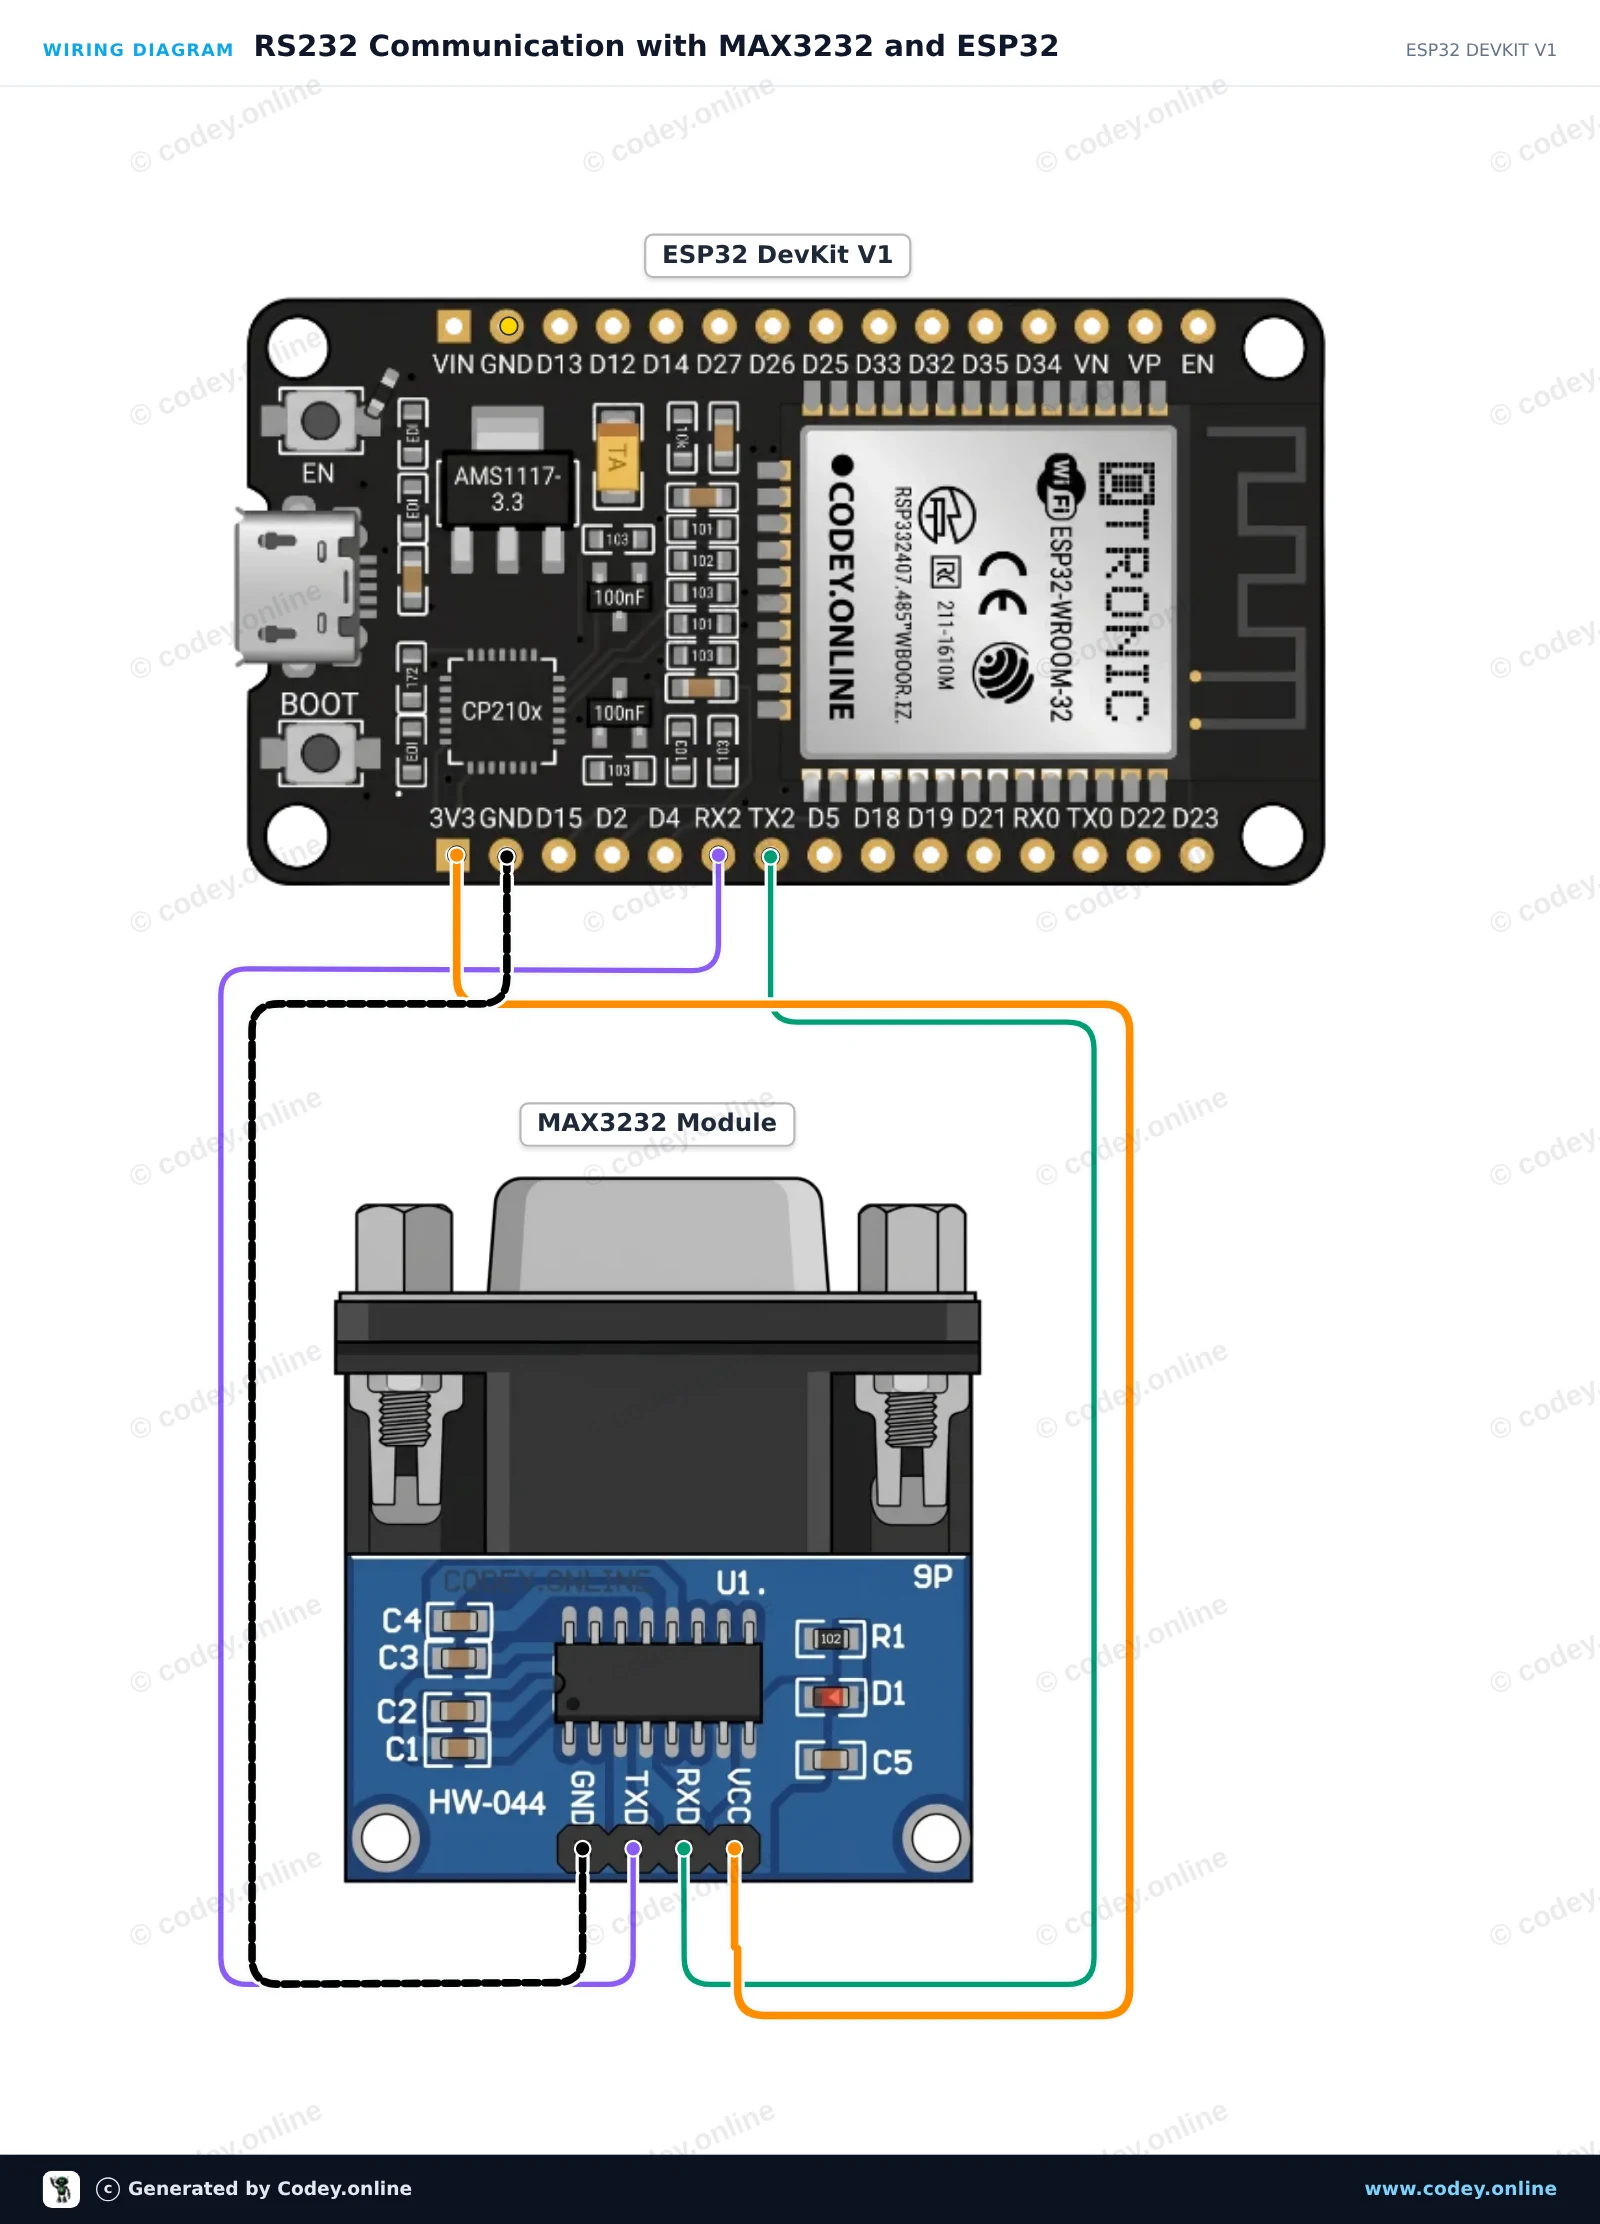
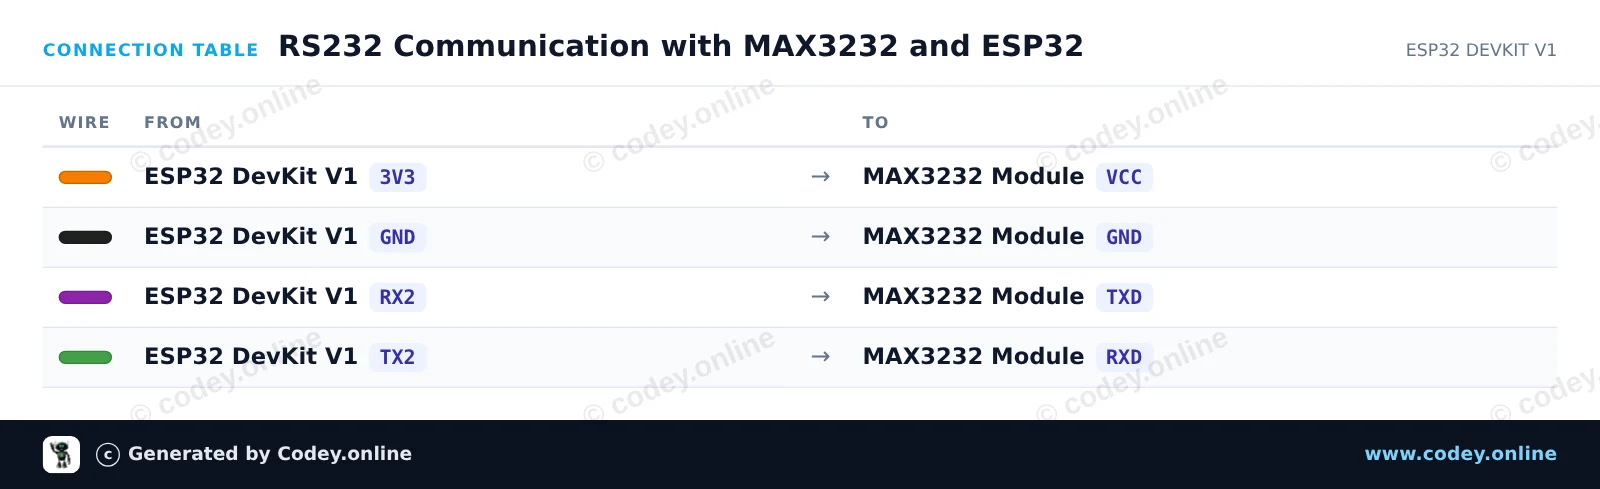
Ce projet relie un ESP32 à un module MAX3232 pour permettre une communication série RS232. L'ESP32 utilise Hardware Serial2 pour envoyer et recevoir des signaux RS232 avec des niveaux logiques de 3.3V. Pour vérifier le fonctionnement en quelques minutes, reliez les broches 2 et 3 (RX et TX) sur le connecteur DB9 du module pour un test en boucle locale qui renvoie les messages sortants vers le Serial Monitor.

Schéma de câblage : Module série MAX3232 RS232 vers TTL sur un ESP32 DevKit V1
Schéma de câblage · Cliquez pour agrandir
Tableau de câblage : Module série MAX3232 RS232 vers TTL sur un ESP32 DevKit V1
Tableau de câblage · Cliquez pour agrandir
RS232_Communication_with_MAX3232_and_ESP.ino · compilé et testé
/*
 * ==================================================================
 *  Generated by Codey.online  —  https://www.codey.online
 * ==================================================================
 *  Project   : RS232 Communication with MAX3232 and ESP32
 *  Board     : ESP32 DEVKIT V1 (esp32:esp32:esp32doit-devkit-v1)
 *  Parts     : MAX3232 RS232 to TTL Serial Converter Module
 *  Libraries : none (built-in)
 *
 *  Codey Online is an AI-powered browser IDE for Arduino and ESP32.
 *  Describe your project and Codey writes the code, draws the wiring
 *  diagram and uploads it to your board, straight from the browser.
 *  This code is free to use, modify and share, without warranty.
 * ==================================================================
 */

// MAX3232 RS232 Demo for ESP32 DEVKIT V1
// Uses Hardware Serial2: GPIO 16 (RX2) and GPIO 17 (TX2)

const int RX_PIN = 16;
const int TX_PIN = 17;

unsigned long lastSendTime = 0;
const unsigned long sendInterval = 2000; // Send a test string every 2 seconds
int messageCounter = 0;

void setup() {
  // USB Serial Monitor
  Serial.begin(115200);
  while (!Serial && millis() < 2000);

  // RS232 Port on Serial2 (9600 baud, 8N1)
  Serial2.begin(9600, SERIAL_8N1, RX_PIN, TX_PIN);

  Serial.println("--- MAX3232 RS232 Bridge Initialized ---");
  Serial.println("Tip: Short DB9 pins 2 & 3 for an automatic loopback test.");
}

void loop() {
  // Periodically send a message out via RS232
  if (millis() - lastSendTime >= sendInterval) {
    lastSendTime = millis();
    messageCounter++;

    String msg = "RS232 Test Message #" + String(messageCounter);
    Serial2.println(msg);
    Serial.print("[RS232 TX] ");
    Serial.println(msg);
  }

  // Print any incoming data from the RS232 interface
  if (Serial2.available()) {
    Serial.print("[RS232 RX] ");
    while (Serial2.available()) {
      char inChar = (char)Serial2.read();
      Serial.print(inChar);
    }
  }

  // Forward any user input from Serial Monitor to RS232
  if (Serial.available()) {
    char outChar = (char)Serial.read();
    Serial2.write(outChar);
  }
}

Wiring diagram and example code generated by Codey.online — https://www.codey.online

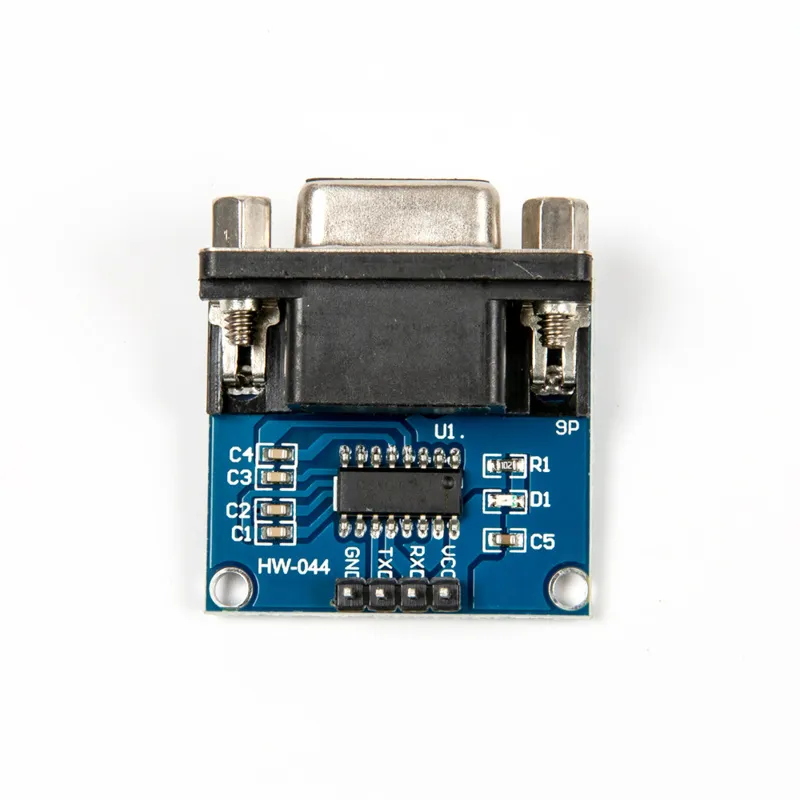
Module série MAX3232 RS232 vers TTL

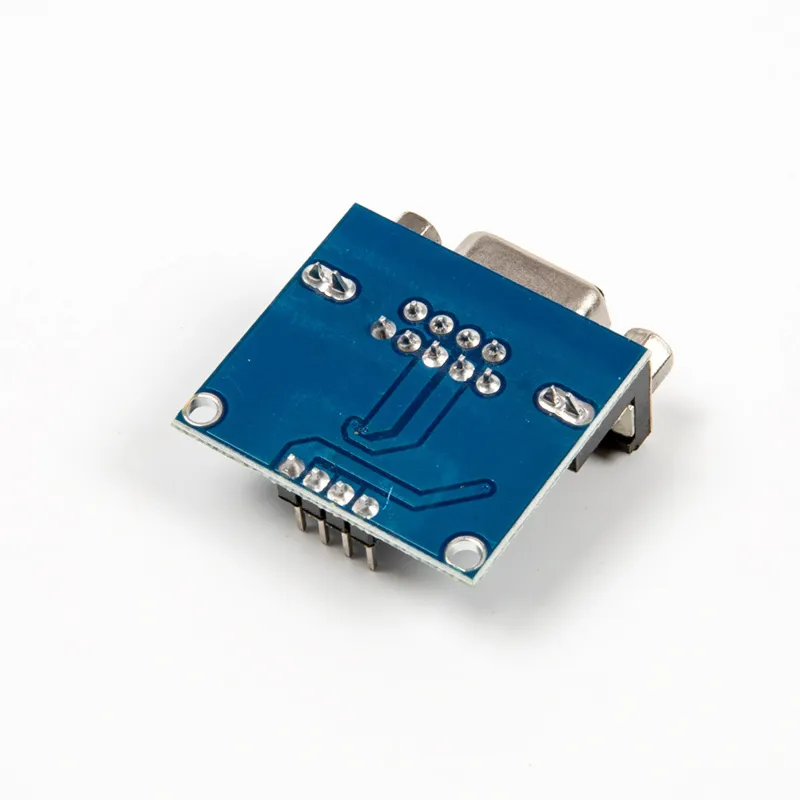
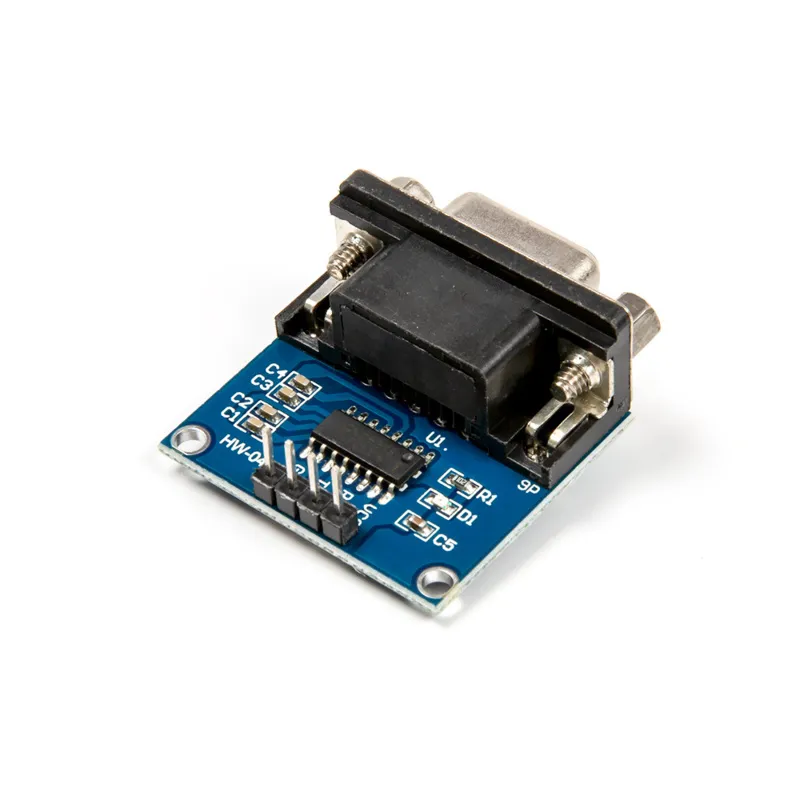
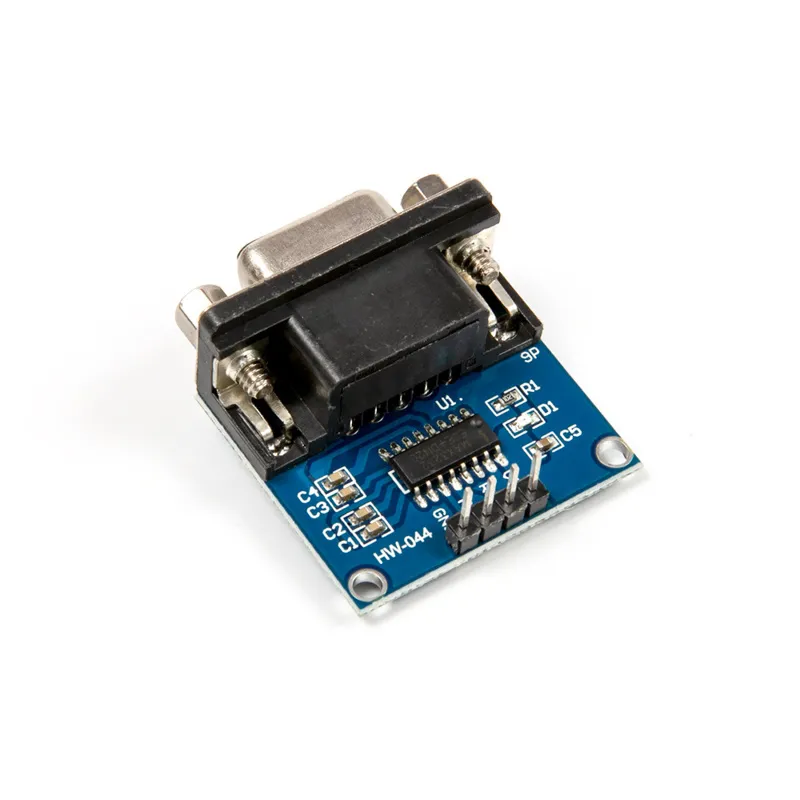
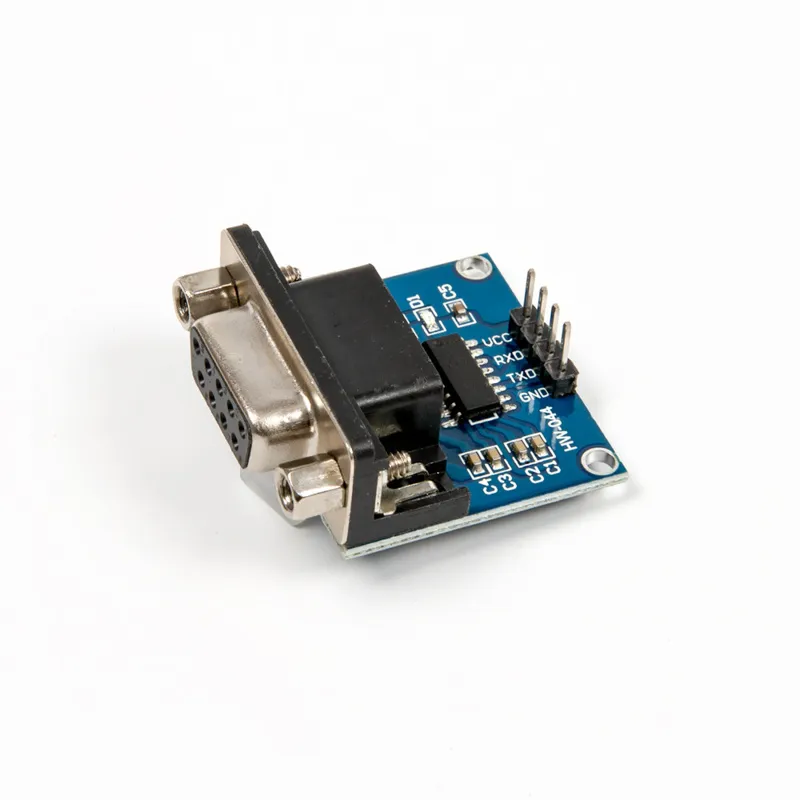
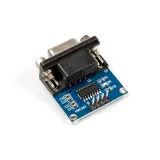
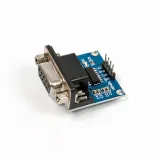
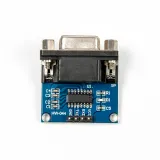
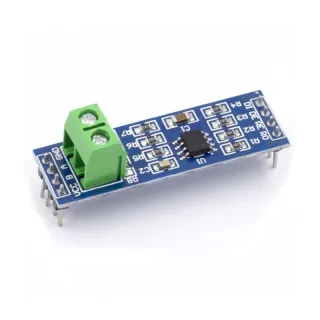
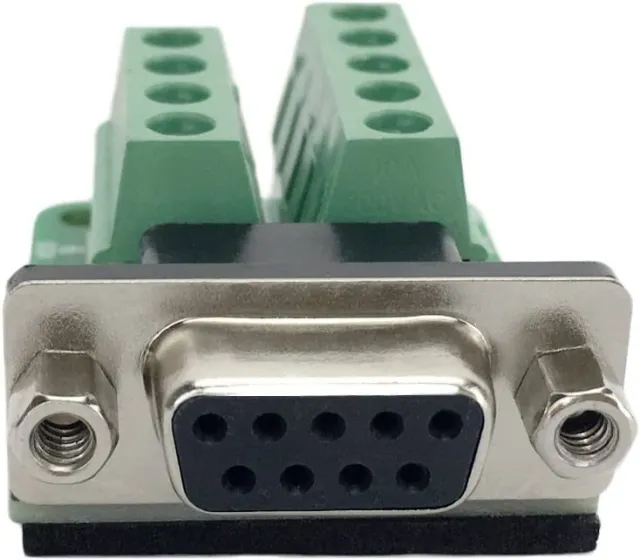
Module convertisseur de port série MAX3232 RS232 vers TTL avec connecteur DB9

Les principaux paramètres :

Puce de contrôle : MAX3232
Tension de fonctionnement : 3,3 V-5 V CC
Courant de fonctionnement : 6 mA
Alimentation : externe
Interface : TXD, RXD, GND, VCC
Dimensions totales : 33 mm x 32 mm x 16 mm

  • Puce MAX3232
  • 3,3-5V DC
  • Alimenté en externe
  • 33 x 32 x 16 mm

Pourquoi choisir ce produit ?

  • Connecteur DB9 – Pour connexion RS232 avec DB9.
  • Alimentation 3,3-5V – Fonctionne en 3,3V-5V DC.
  • Alimenté externement – Connexion à une alimentation externe.
  • Quatre broches d’interface – TXD, RXD, GND et VCC.
Spécifications
Dimensions33 mm x 32 mm x 16 mm
Connexionconnecteur DB9
ModèleMAX3232
Courant6mA

Avis

★★★★★ 5,0/5 5 avis
  • ★★★★★Jan Siebesma

    Répond parfaitement aux attentes.

  • ★★★★★Gerrit NijhofAchat vérifié

    Fonctionne bien connecté à l’Esp32 pour la connexion avec un onduleur hybride

  • ★★★★★Michael BeelmanAchat vérifié

    Pas encore testé.

Rédiger un avis
Votre note

Livraison & retours

Livraison

  • Colis avec suivi€ 6,353 jours ouvrés
  • Colis avec suivi€ 8,053 jours ouvrés
  • Colis avec suivi€ 9,153 jours ouvrés
  • Colis avec suivi€ 10,153 jours ouvrés
Tout sur la livraison

Retours

Pas satisfait ? Tu as 30 jours après réception pour renvoyer le produit.

Tout sur les retours

Récemment consultés