SKU: OT822-C66 Numéro d’article: AA413 EAN: 2268898153460

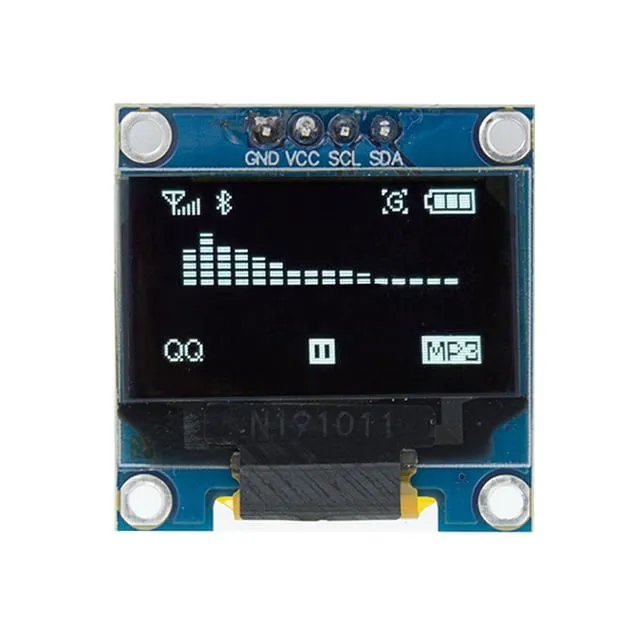
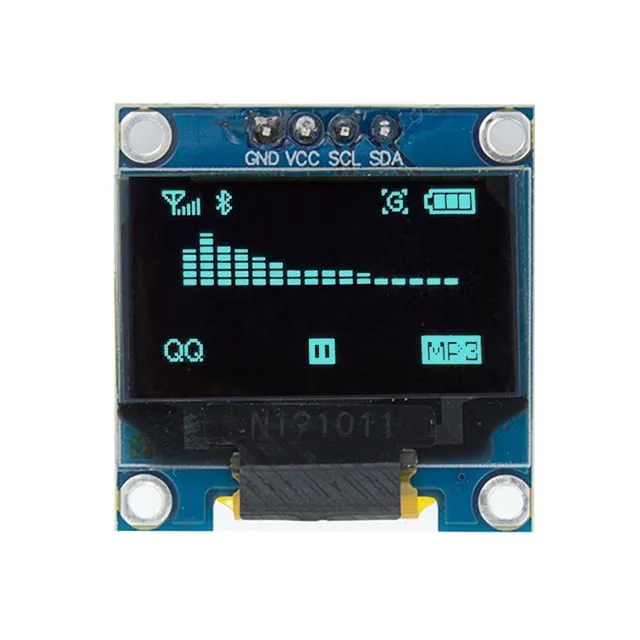
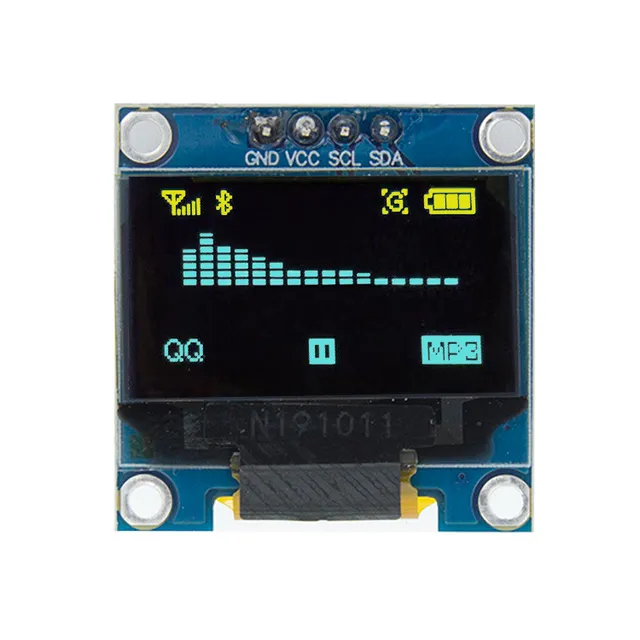
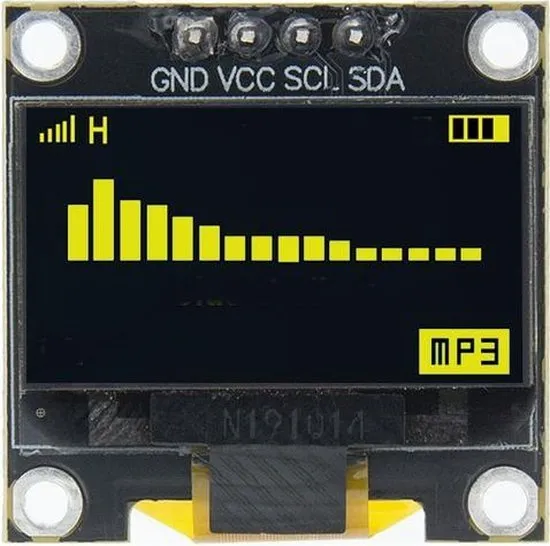
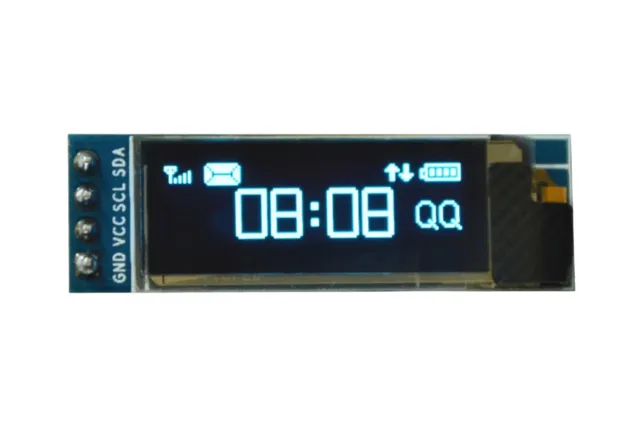
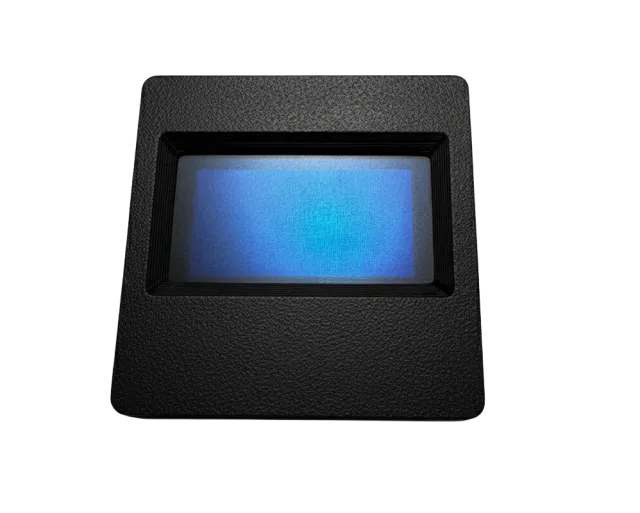
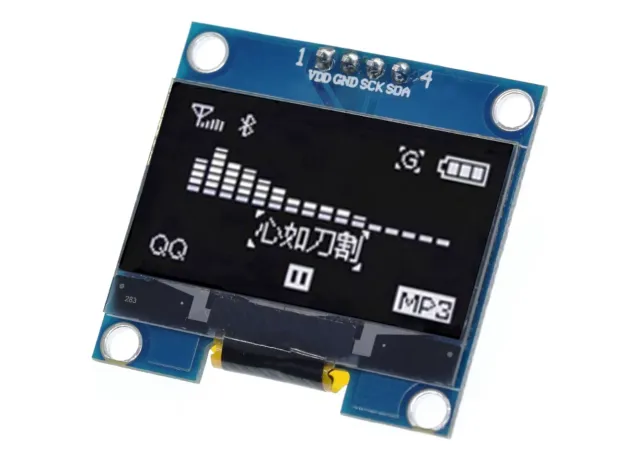
Petit écran OLED mini de 0,96 pouce. Image d’une netteté remarquable avec une résolution de 128x64 pixels.
Fonctionne avec une alimentation de 3v-5v. Idéal pour les projets Arduino ou ESP32 / ESP8266.
Les dimensions de cette carte ne sont que de 26,1 x 26,1 x 3,2 mm.
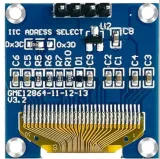
Il est possible de sélectionner 2 adresses i2c en modifiant la résistance à l’arrière.
Les adresses disponibles sont : 0x3C (par défaut) et x3D
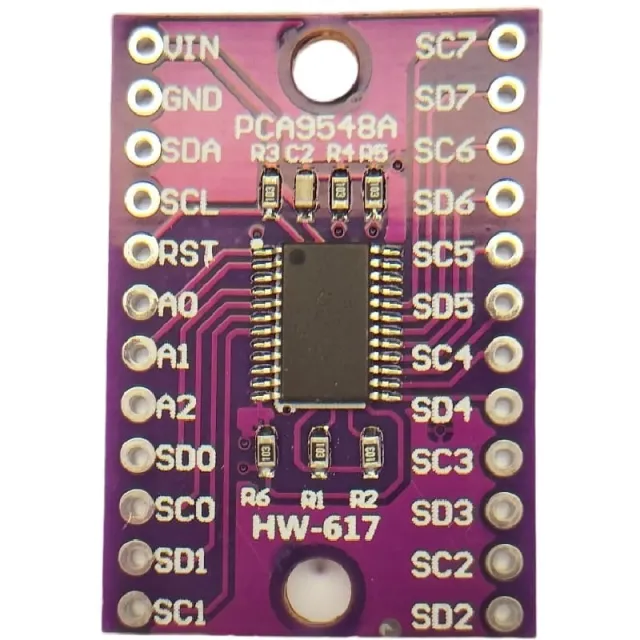
Si vous souhaitez piloter plusieurs écrans OLED ou si vous ne souhaitez pas souder le SMD, vous pouvez également piloter jusqu’à 8 écrans i2C avec la même adresse au moyen d’un multiplexeur i2c.
consultez ici le schéma de connexion et le code d’exemple >>>
Dimensions
Longueur : 2,61 cm
Largeur : 2,61 cm
Hauteur : 0,32 cm
La lecture charge la vidéo depuis YouTube.
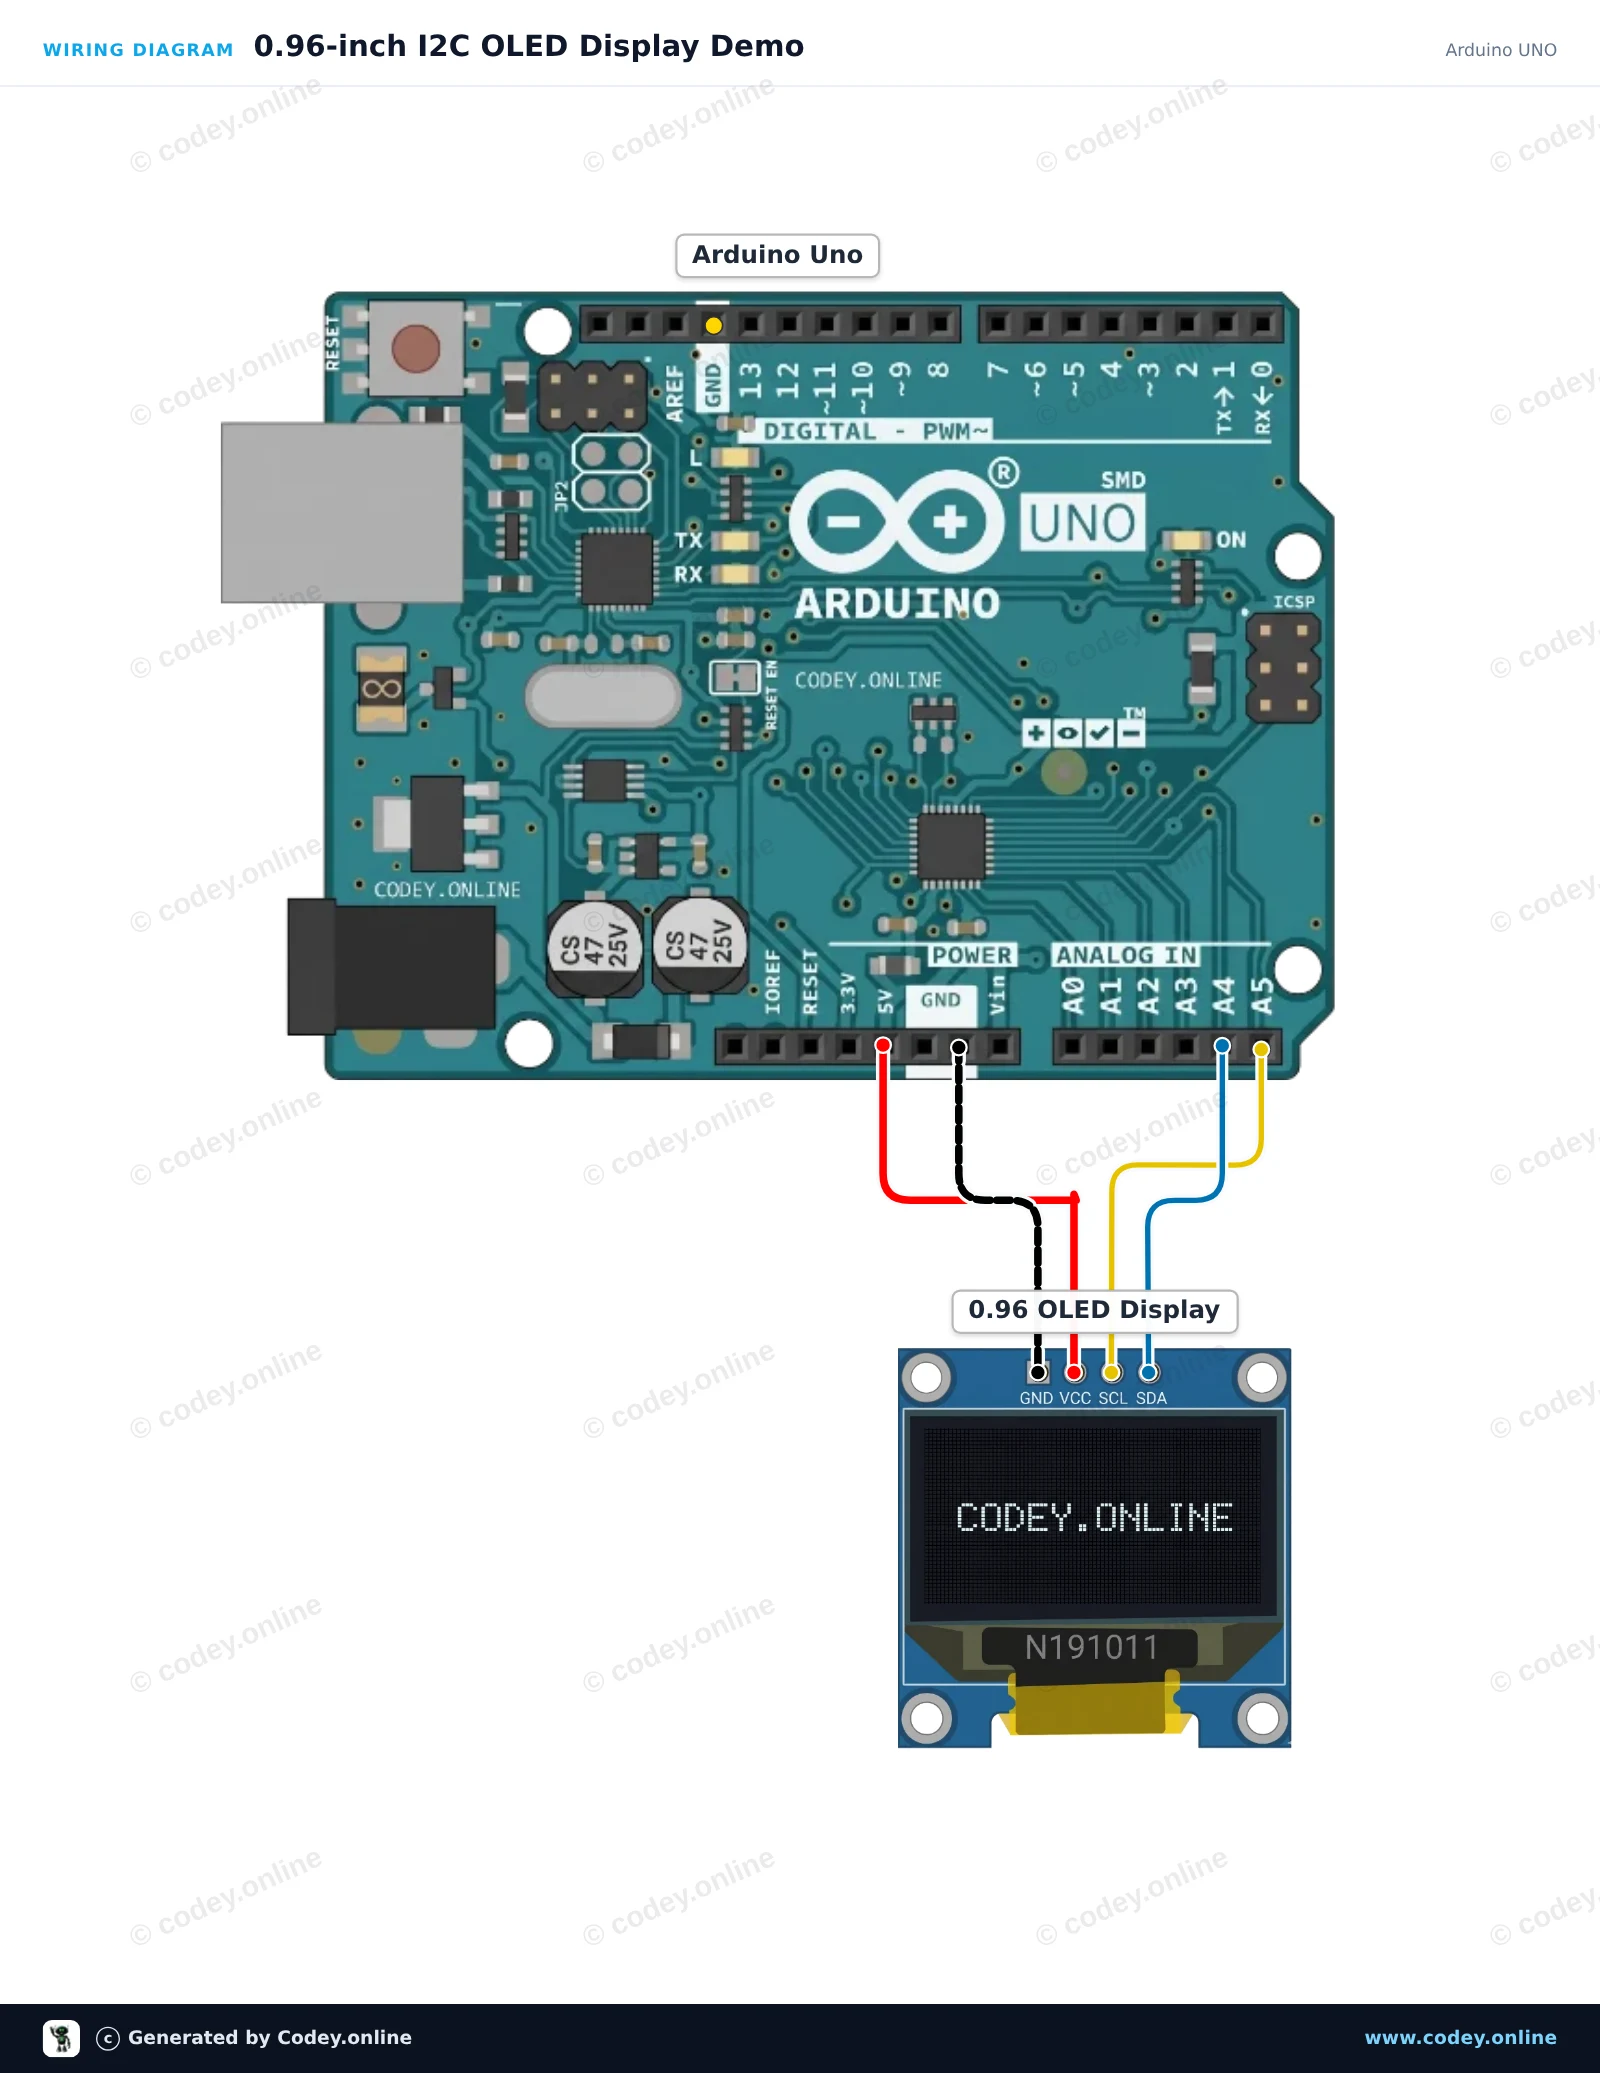
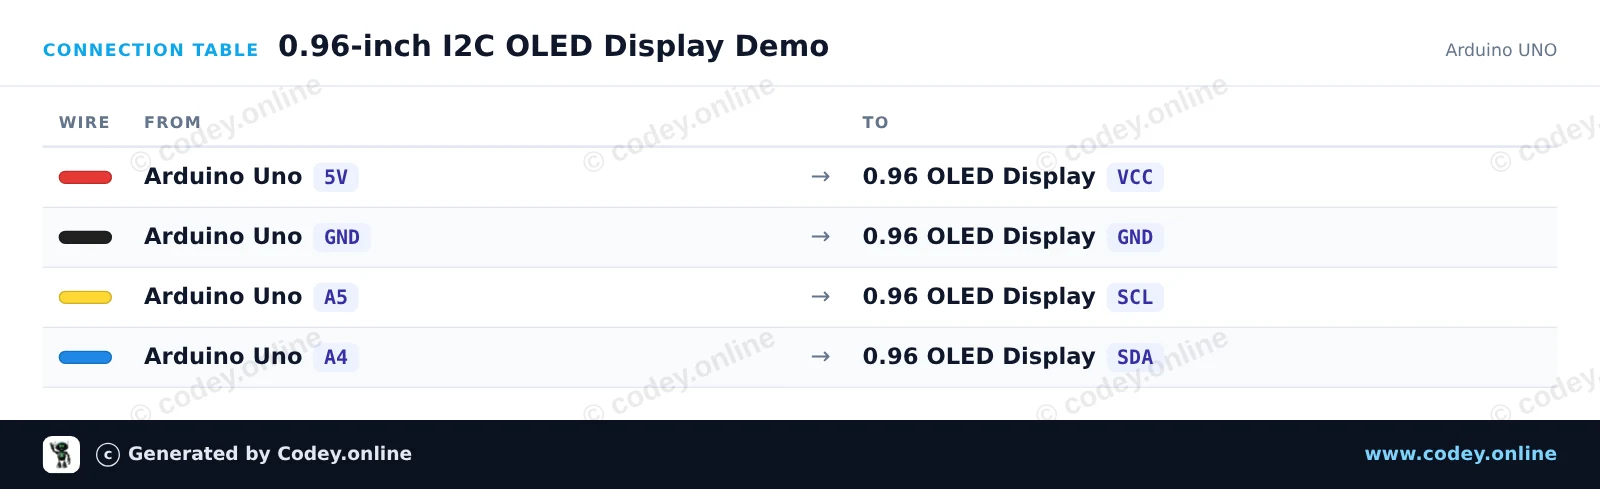
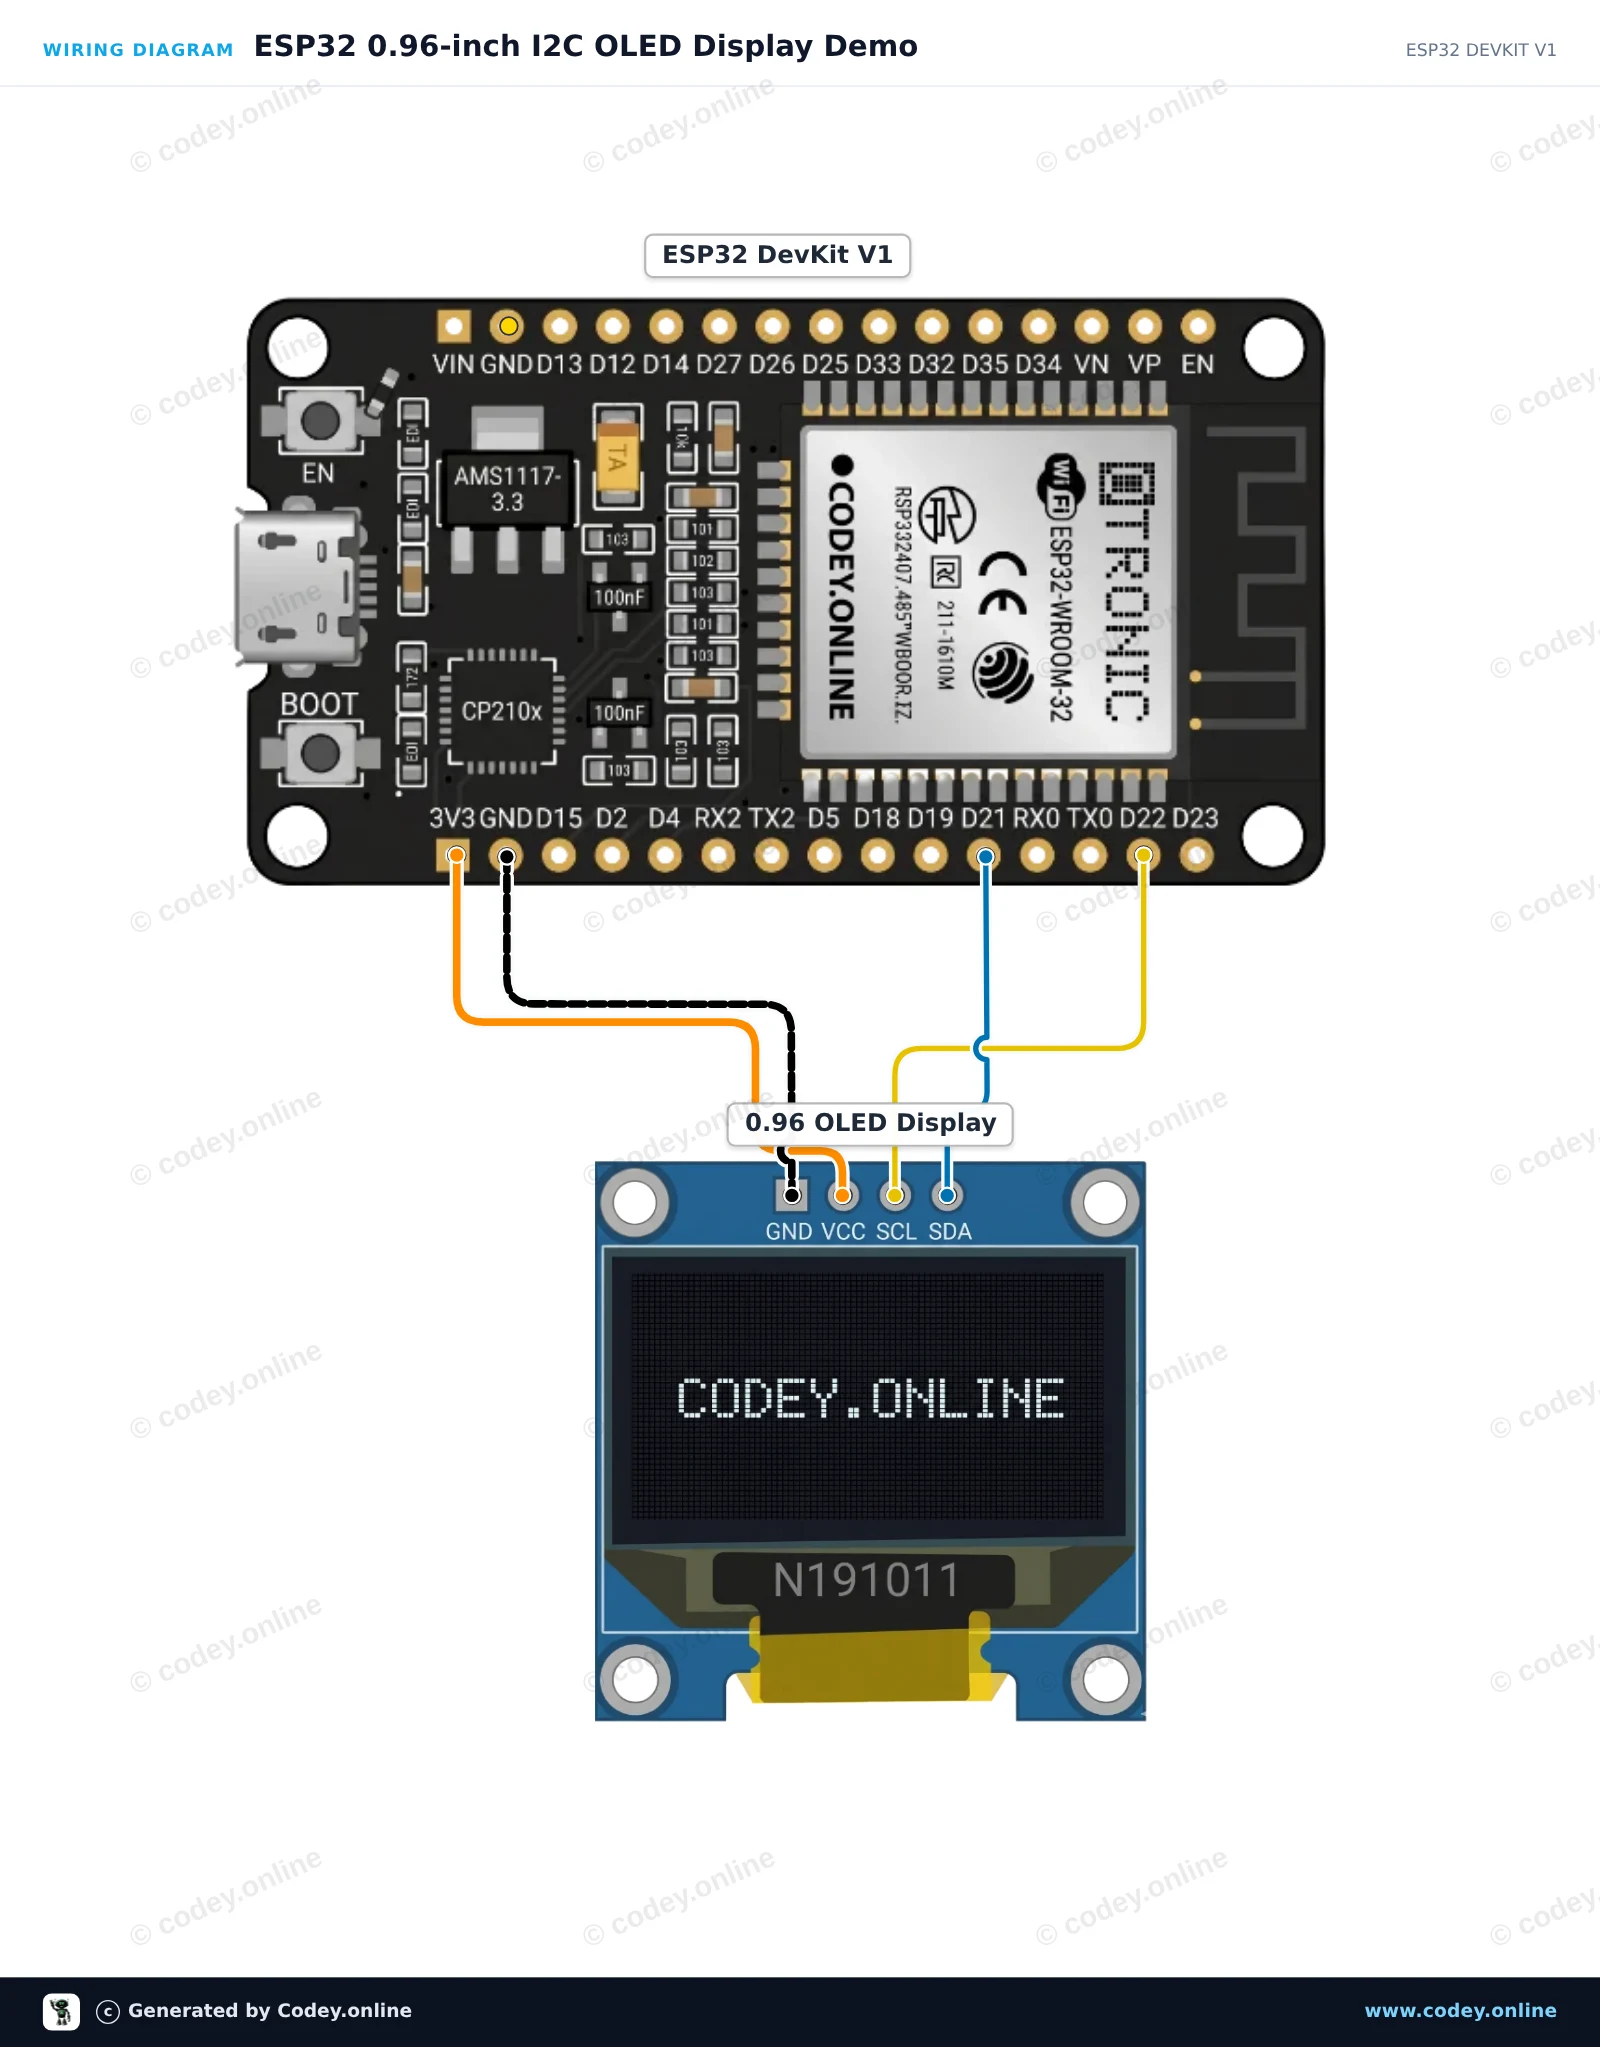
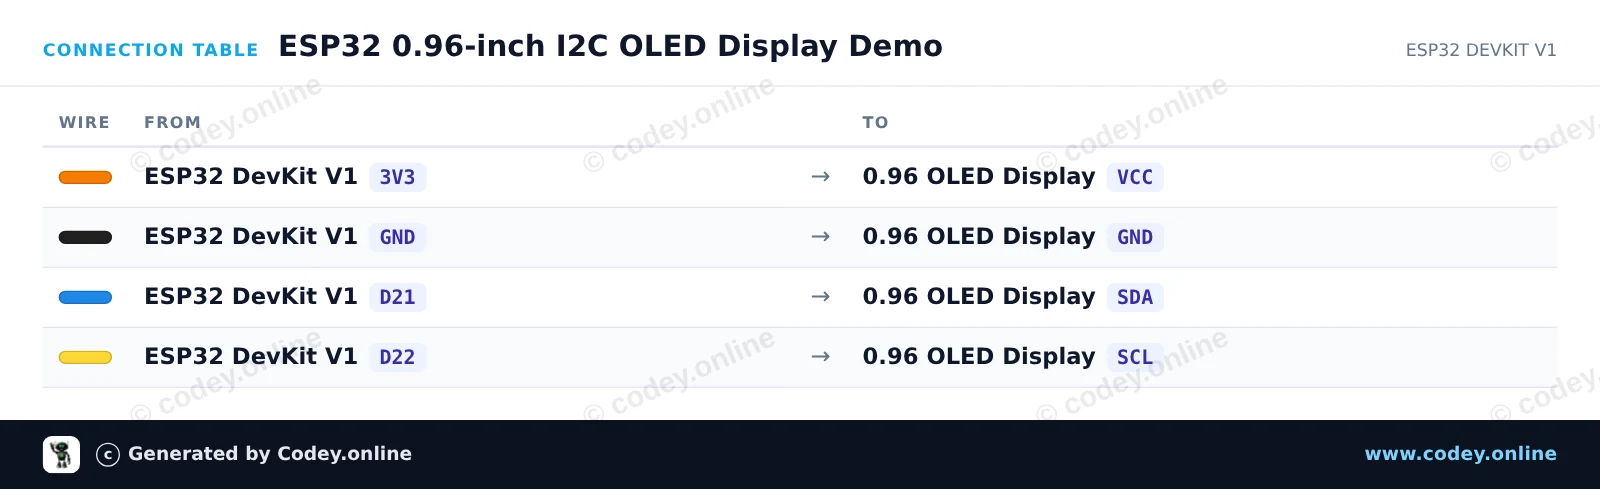
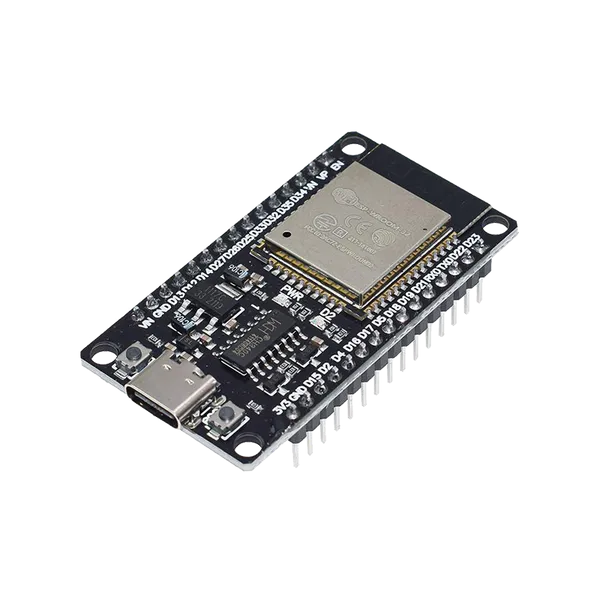
Voici comment connecter le Mini écran OLED blanc 0,96 pouce 128x64 I2C à un Arduino UNO ou à un ESP32, avec un exemple de sketch que tu peux téléverser directement.
Connectez l'écran OLED I2C 128x64 de 0,96 pouce directement aux broches I2C de l'Arduino Uno (A4 pour SDA, A5 pour SCL). Ce sketch utilise des commandes I2C standard pour initialiser le contrôleur SSD1306 et affiche un compteur en direct ainsi que du texte directement, sans avoir besoin de bibliothèques graphiques externes.
/*
 * ==================================================================
 *  Generated by Codey.online  —  https://www.codey.online
 * ==================================================================
 *  Project   : 0.96-inch I2C OLED Display Demo
 *  Board     : Arduino UNO (arduino:avr:uno)
 *  Parts     : OLED Display 0.96 inch
 *  Libraries : none (built-in)
 *
 *  Codey Online is an AI-powered browser IDE for Arduino and ESP32.
 *  Describe your project and Codey writes the code, draws the wiring
 *  diagram and uploads it to your board, straight from the browser.
 *  This code is free to use, modify and share, without warranty.
 * ==================================================================
 */

#include <Wire.h>

const uint8_t OLED_ADDR = 0x3C;
const uint8_t OLED_WIDTH = 128;
const uint8_t OLED_HEIGHT = 64;
uint8_t buffer[1024];
int counter = 0;

const uint8_t font5x7[][5] = {
  {0x00, 0x00, 0x00, 0x00, 0x00}, // space
  {0x7E, 0x11, 0x11, 0x11, 0x7E}, // A
  {0x7F, 0x49, 0x49, 0x49, 0x36}, // B
  {0x3E, 0x41, 0x41, 0x41, 0x22}, // C
  {0x7F, 0x41, 0x41, 0x22, 0x1C}, // D
  {0x7F, 0x49, 0x49, 0x49, 0x41}, // E
  {0x7F, 0x09, 0x09, 0x09, 0x01}, // F
  {0x3E, 0x41, 0x49, 0x49, 0x7A}, // G
  {0x7F, 0x08, 0x08, 0x08, 0x7F}, // H
  {0x00, 0x41, 0x7F, 0x41, 0x00}, // I
  {0x7F, 0x40, 0x40, 0x40, 0x40}, // L
  {0x7F, 0x02, 0x0C, 0x02, 0x7F}, // M
  {0x7F, 0x04, 0x08, 0x10, 0x7F}, // N
  {0x3E, 0x41, 0x41, 0x41, 0x3E}, // O
  {0x7F, 0x09, 0x09, 0x09, 0x06}, // P
  {0x7F, 0x09, 0x19, 0x29, 0x46}, // R
  {0x46, 0x49, 0x49, 0x49, 0x31}, // S
  {0x01, 0x01, 0x7F, 0x01, 0x01}, // T
  {0x3F, 0x40, 0x40, 0x40, 0x3F}, // U
  {0x3E, 0x51, 0x49, 0x45, 0x3E}, // 0
  {0x00, 0x42, 0x7F, 0x40, 0x00}, // 1
  {0x42, 0x61, 0x51, 0x49, 0x46}, // 2
  {0x21, 0x41, 0x45, 0x4B, 0x31}, // 3
  {0x18, 0x14, 0x12, 0x7F, 0x10}, // 4
  {0x27, 0x45, 0x45, 0x45, 0x39}, // 5
  {0x3C, 0x4A, 0x49, 0x49, 0x30}, // 6
  {0x01, 0x71, 0x09, 0x05, 0x03}, // 7
  {0x36, 0x49, 0x49, 0x49, 0x36}, // 8
  {0x06, 0x49, 0x49, 0x29, 0x1E}, // 9
  {0x00, 0x36, 0x36, 0x00, 0x00}, // :
  {0x00, 0x60, 0x60, 0x00, 0x00}  // .
};

int charIndex(char c) {
  if (c >= 'a' && c <= 'z') c -= 32;
  if (c == ' ') return 0;
  if (c == 'A') return 1; if (c == 'B') return 2; if (c == 'C') return 3;
  if (c == 'D') return 4; if (c == 'E') return 5; if (c == 'F') return 6;
  if (c == 'G') return 7; if (c == 'H') return 8; if (c == 'I') return 9;
  if (c == 'L') return 10; if (c == 'M') return 11; if (c == 'N') return 12;
  if (c == 'O') return 13; if (c == 'P') return 14; if (c == 'R') return 15;
  if (c == 'S') return 16; if (c == 'T') return 17; if (c == 'U') return 18;
  if (c >= '0' && c <= '9') return 19 + (c - '0');
  if (c == ':') return 29;
  if (c == '.') return 30;
  return 0;
}

void sendCmd(uint8_t cmd) {
  Wire.beginTransmission(OLED_ADDR);
  Wire.write(0x00);
  Wire.write(cmd);
  Wire.endTransmission();
}

void sendCmd2(uint8_t cmd, uint8_t val) {
  Wire.beginTransmission(OLED_ADDR);
  Wire.write(0x00);
  Wire.write(cmd);
  Wire.write(val);
  Wire.endTransmission();
}

void clearDisplay() {
  memset(buffer, 0, sizeof(buffer));
}

void setPixel(int x, int y, bool state) {
  if (x < 0 || x >= OLED_WIDTH || y < 0 || y >= OLED_HEIGHT) return;
  int idx = x + (y / 8) * OLED_WIDTH;
  if (state) buffer[idx] |= (1 << (y % 8));
  else buffer[idx] &= ~(1 << (y % 8));
}

void printText(int x, int y, const char* str) {
  while (*str) {
    int idx = charIndex(*str++);
    for (int col = 0; col < 5; col++) {
      uint8_t line = font5x7[idx][col];
      for (int row = 0; row < 7; row++) {
        setPixel(x + col, y + row, (line >> row) & 1);
      }
    }
    x += 6;
  }
}

void updateDisplay() {
  sendCmd(0x20); sendCmd(0x00);
  sendCmd2(0x21, 0x00); sendCmd(0x7F);
  sendCmd2(0x22, 0x00); sendCmd(0x07);
  for (uint16_t i = 0; i < 1024; i += 16) {
    Wire.beginTransmission(OLED_ADDR);
    Wire.write(0x40);
    for (uint8_t j = 0; j < 16; j++) {
      Wire.write(buffer[i + j]);
    }
    Wire.endTransmission();
  }
}

void setup() {
  Serial.begin(115200);
  Wire.begin();
  delay(50);
  sendCmd(0xAE); sendCmd2(0xD5, 0x80); sendCmd2(0xA8, 0x3F);
  sendCmd2(0xD3, 0x00); sendCmd(0x40); sendCmd2(0x8D, 0x14);
  sendCmd(0xA1); sendCmd(0xC8); sendCmd2(0xDA, 0x12);
  sendCmd2(0x81, 0xCF); sendCmd2(0xD9, 0xF1); sendCmd2(0xDB, 0x40);
  sendCmd(0xA4); sendCmd(0xA6); sendCmd(0xAF);
  Serial.println(F("OLED Initialized"));
}

void loop() {
  clearDisplay();
  printText(0, 0, "OLED 0.96 INCH");
  printText(0, 16, "ARDUINO UNO");

  char buf[16];
  itoa(counter, buf, 10);
  printText(0, 32, "COUNT: ");
  printText(42, 32, buf);

  int barWidth = (counter % 120);
  for (int x = 0; x <= barWidth; x++) {
    for (int y = 48; y < 58; y++) {
      setPixel(x, y, true);
    }
  }

  updateDisplay();
  counter++;
  delay(100);
}Wiring diagram and example code generated by Codey.online — https://www.codey.online
Ce projet montre comment connecter et afficher du texte et des nombres sur un écran OLED I2C 0.96-inch à l'aide de l'ESP32. Le sketch initialise l'affichage et met à jour un compteur en direct chaque seconde. Assurez-vous d'installer les bibliothèques Adafruit SSD1306 et Adafruit GFX avant de téléverser.
/*
 * ==================================================================
 *  Generated by Codey.online  —  https://www.codey.online
 * ==================================================================
 *  Project   : ESP32 0.96-inch I2C OLED Display Demo
 *  Board     : ESP32 DEVKIT V1 (esp32:esp32:esp32doit-devkit-v1)
 *  Parts     : OLED Display 0.96 inch
 *  Libraries : Adafruit SSD1306 2.5.16, Adafruit GFX Library 1.12.6
 *
 *  Codey Online is an AI-powered browser IDE for Arduino and ESP32.
 *  Describe your project and Codey writes the code, draws the wiring
 *  diagram and uploads it to your board, straight from the browser.
 *  This code is free to use, modify and share, without warranty.
 * ==================================================================
 */

#include <Wire.h>
#include <Adafruit_GFX.h>
#include <Adafruit_SSD1306.h>

#define SCREEN_WIDTH 128
#define SCREEN_HEIGHT 64
#define OLED_RESET    -1
#define SCREEN_ADDRESS 0x3C

Adafruit_SSD1306 display(SCREEN_WIDTH, SCREEN_HEIGHT, &Wire, OLED_RESET);

int counter = 0;

void setup() {
  Serial.begin(115200);

  // Initialize I2C on ESP32 default pins (SDA: 21, SCL: 22)
  Wire.begin(21, 22);

  if (!display.begin(SSD1306_SWITCHCAPVCC, SCREEN_ADDRESS)) {
    Serial.println(F("SSD1306 allocation failed"));
    while (true); // Freeze
  }

  display.clearDisplay();
  display.setTextColor(SSD1306_WHITE);
  display.setTextSize(1);
  display.setCursor(0, 0);
  display.println("ESP32 OLED Test");
  display.display();
  delay(1500);
}

void loop() {
  display.clearDisplay();

  // Header text
  display.setTextSize(1);
  display.setCursor(0, 0);
  display.println("ESP32 + SSD1306");

  // Separator line
  display.drawLine(0, 12, 127, 12, SSD1306_WHITE);

  // Counter display
  display.setCursor(0, 20);
  display.println("Counter value:");

  display.setTextSize(2);
  display.setCursor(0, 36);
  display.print(counter);

  display.display();

  counter++;
  delay(1000);
}Bibliothèques nécessaires : Adafruit SSD1306 2.5.16, Adafruit GFX Library 1.12.6
Wiring diagram and example code generated by Codey.online — https://www.codey.online






 English
  Nederlands
  Deutsch
  Italiano
  Español
  Suomi
Suomi  Polski
  Dansk
Dansk  Ελληνικά
  Български
  Čeština
  Hrvatski
  Aileen