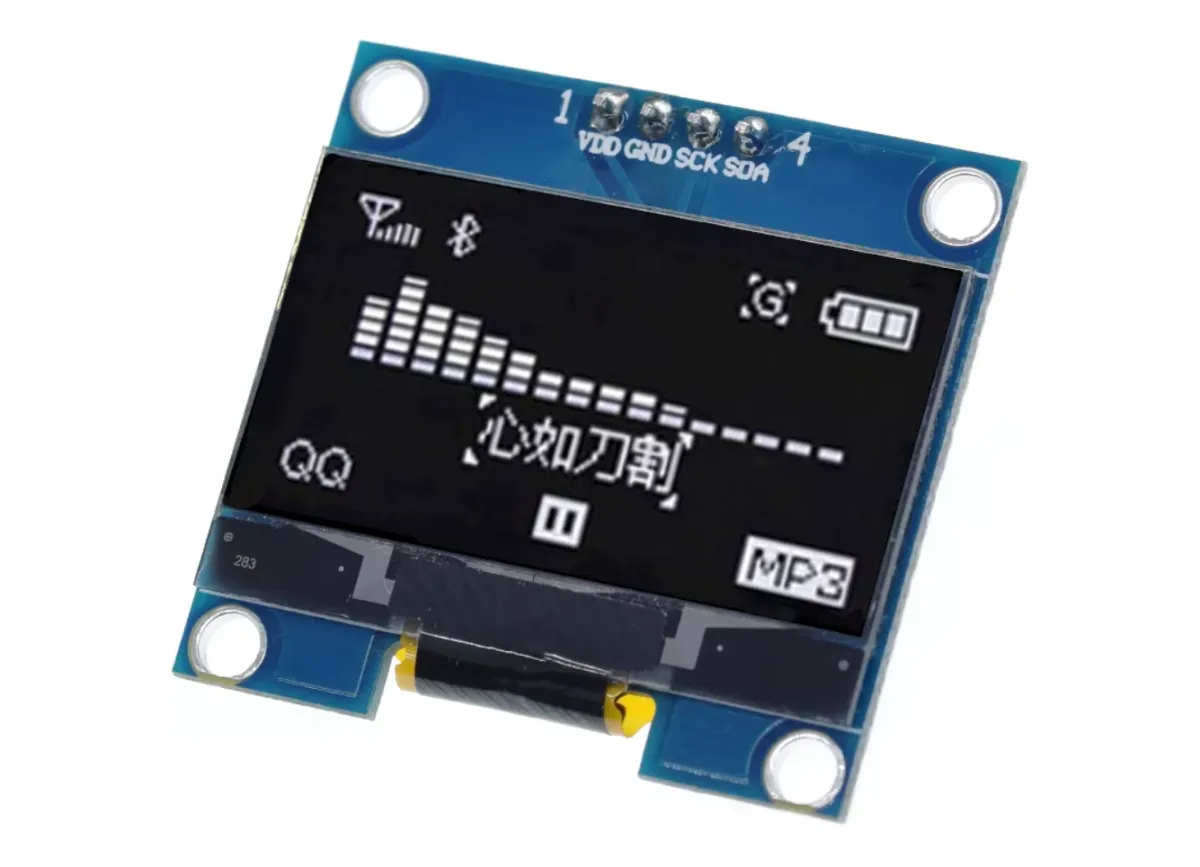
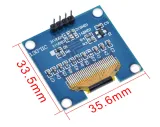
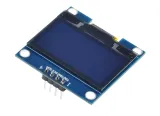
SKU: OT8682 Numéro d’article: OT8682 EAN: 8721244302898
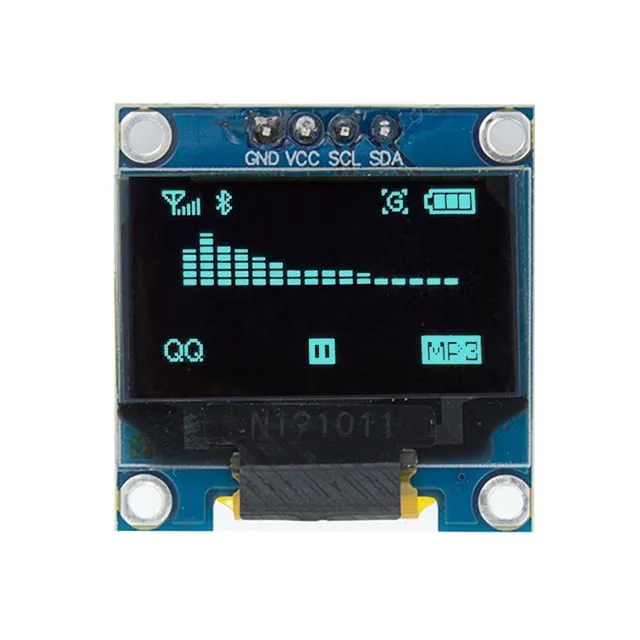
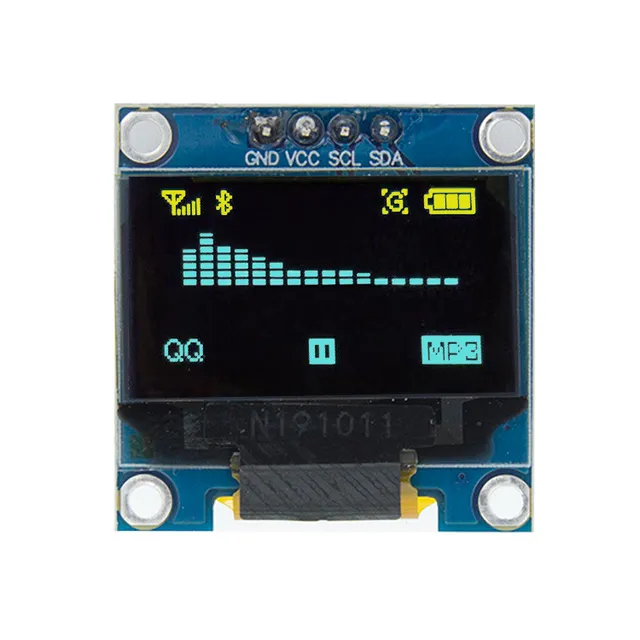
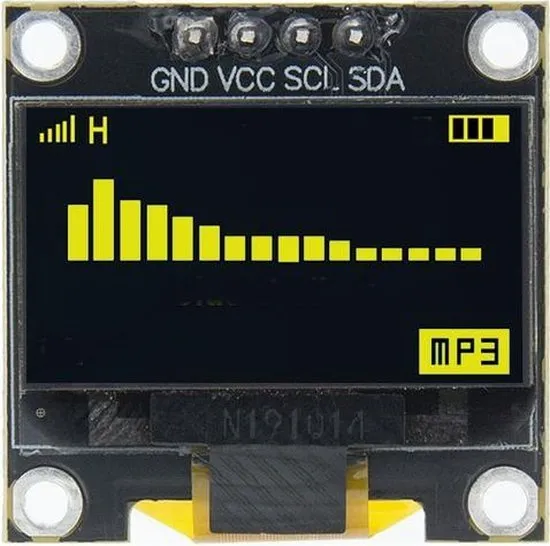
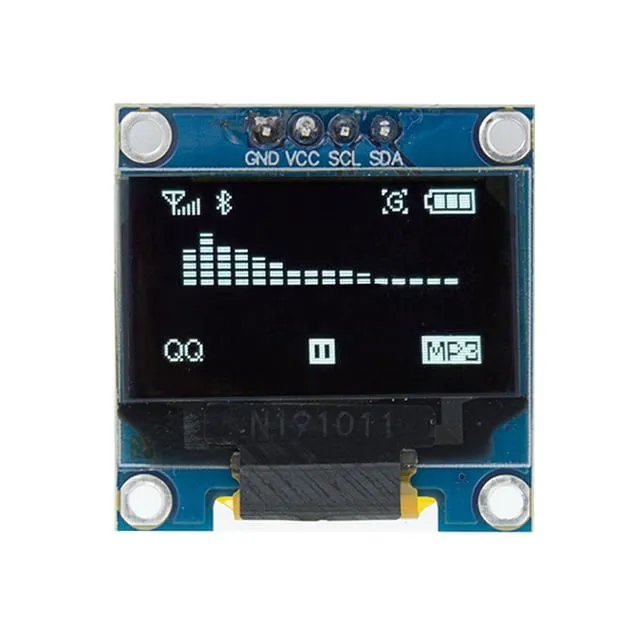
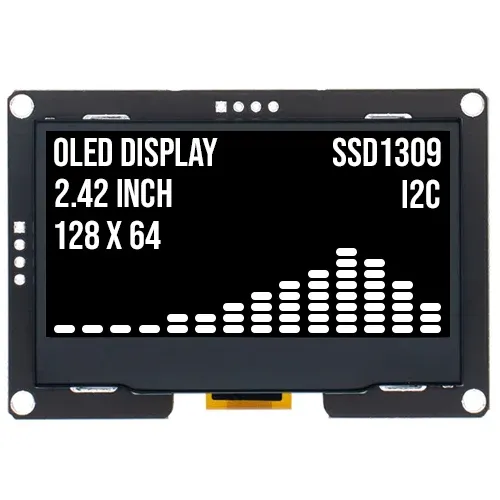
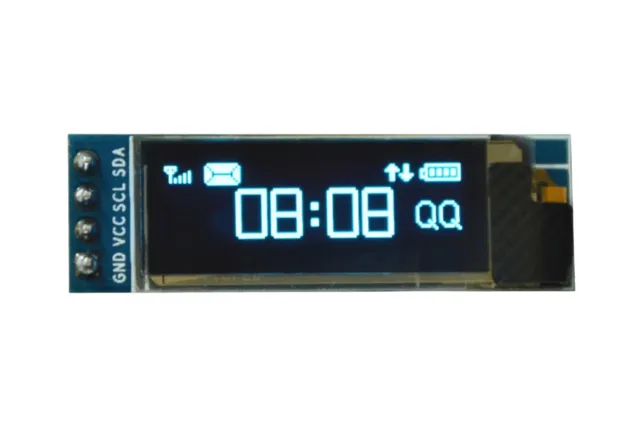
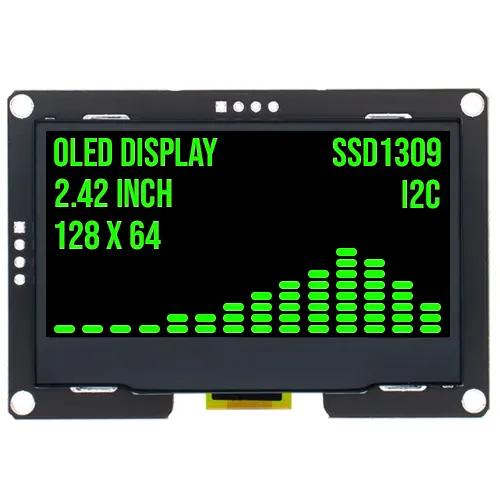
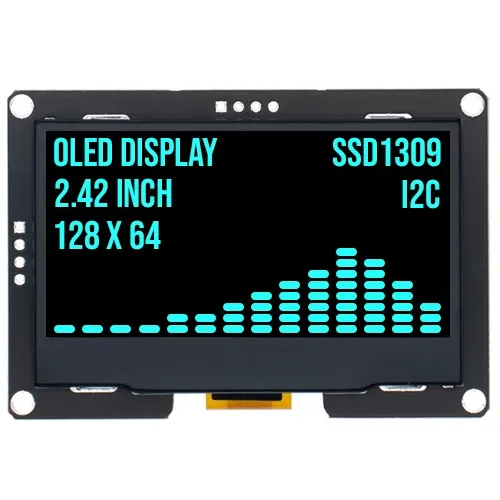
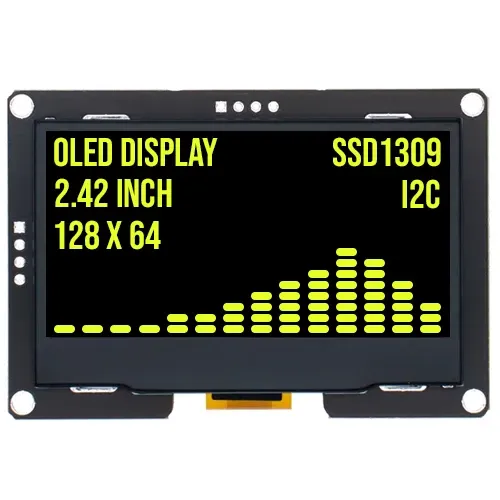
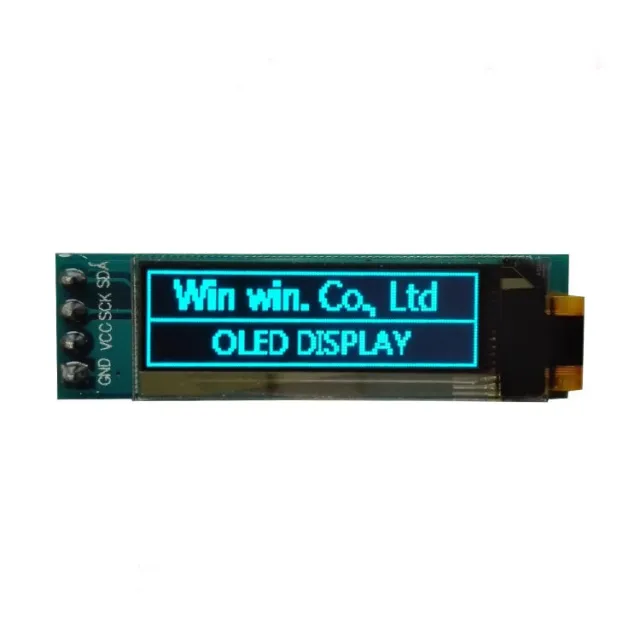
Cet écran OLED compact a une diagonale de 1.3 inch et une résolution de 128x64 pixels. Grâce à l’affichage blanc, l’écran est bien lisible dans différentes conditions d’éclairage.
L’écran est idéal pour les projets nécessitant un affichage clair et net avec une connexion I2C simple. La large plage de tension d’alimentation et la robustesse en température le rendent adapté à diverses applications.
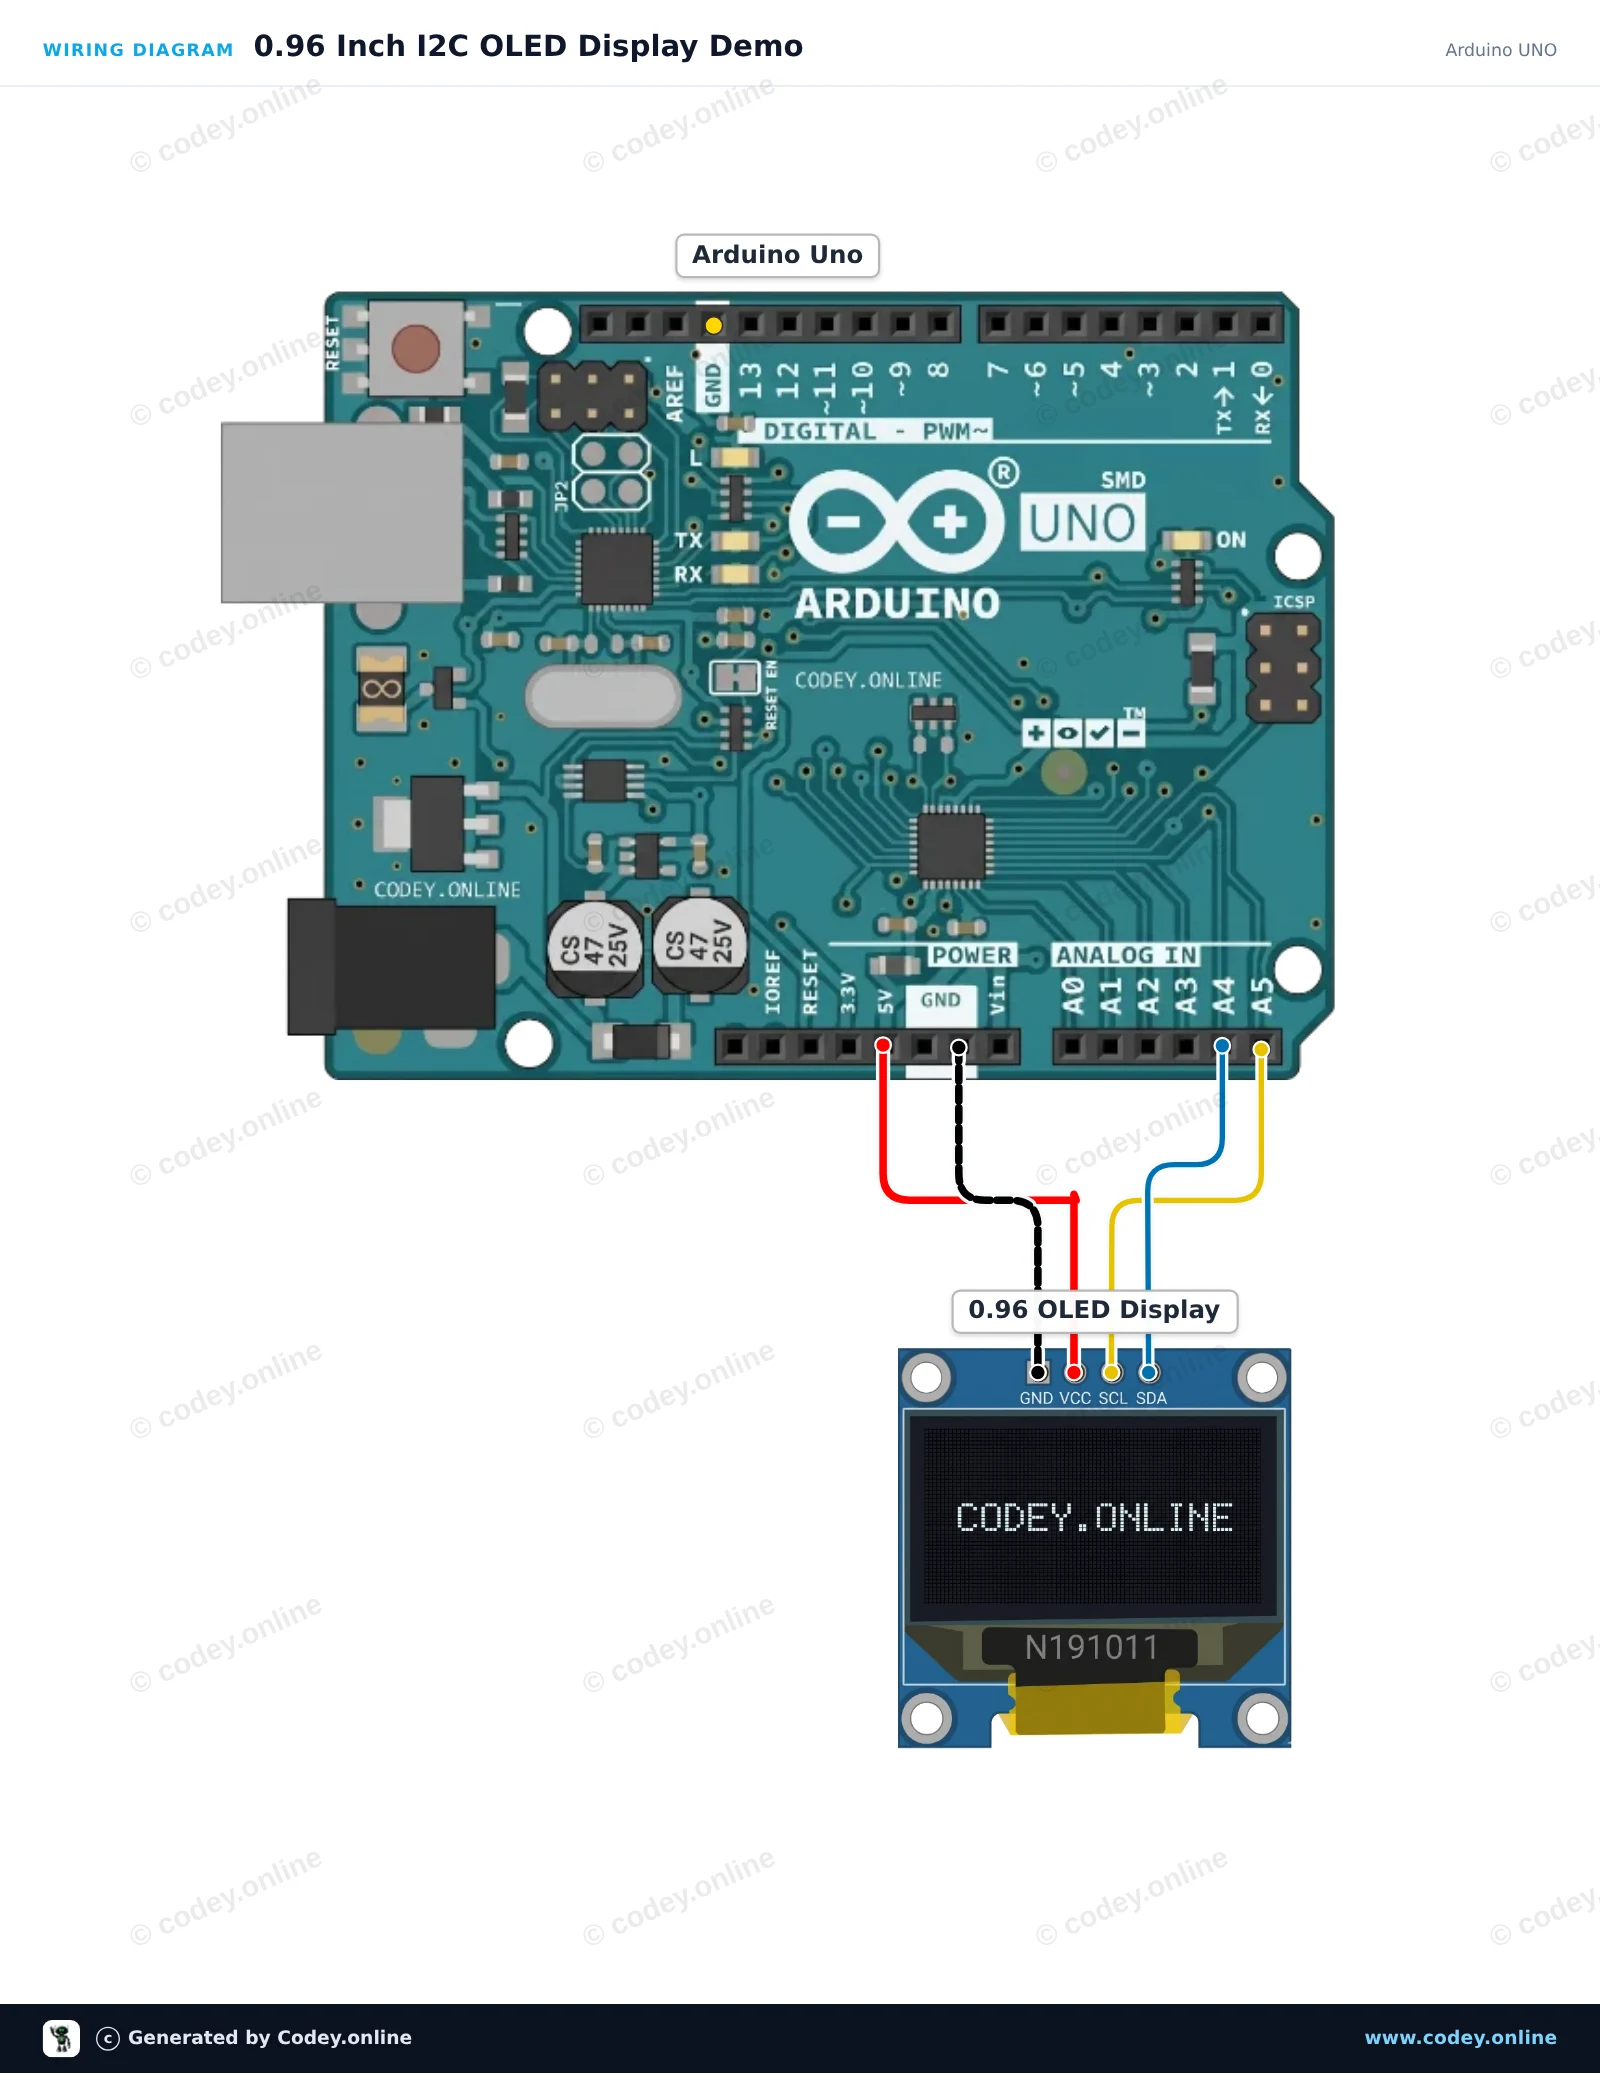
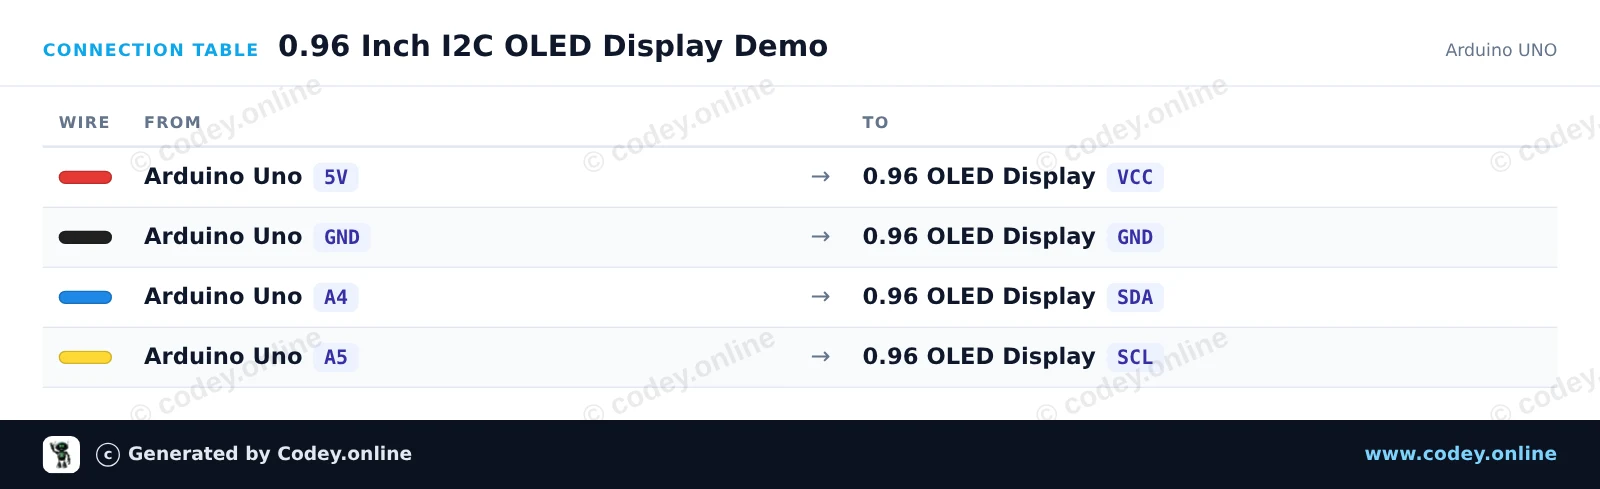
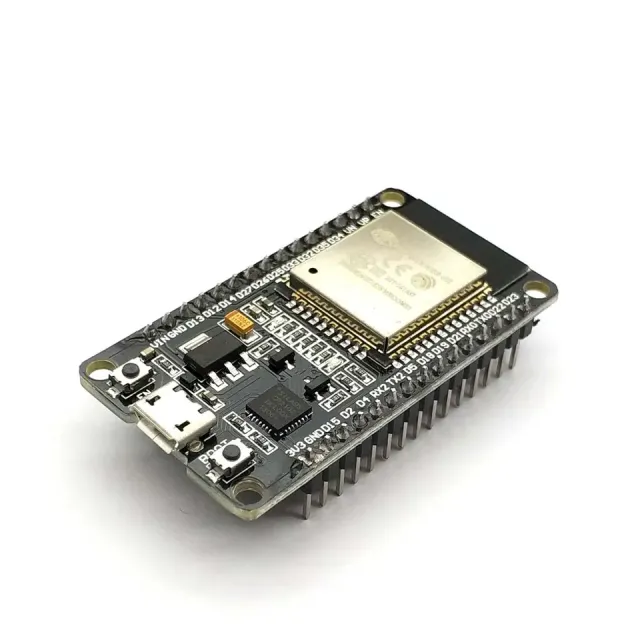
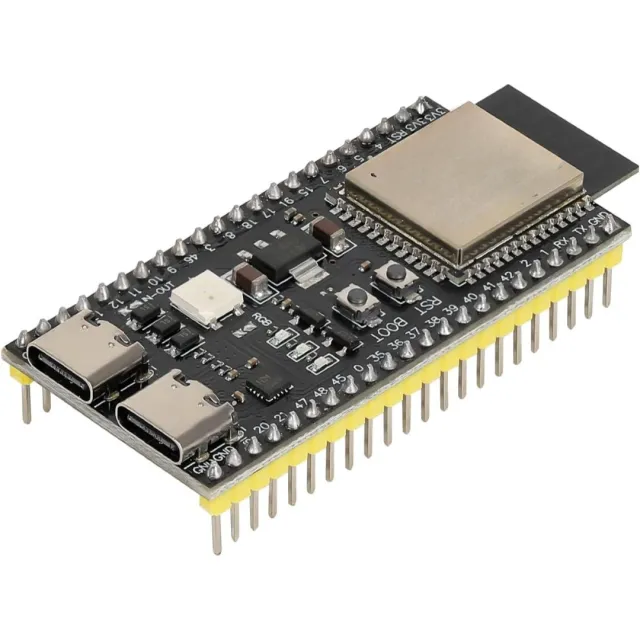
Voici comment connecter le Mini écran OLED blanc 1.3 inch 128x64 I2C à un Arduino UNO ou à un ESP32, avec un exemple de sketch que tu peux téléverser directement.
Ce projet montre comment connecter et afficher du texte, des graphiques et un compteur sur un écran OLED I2C de 0.96-inch avec une Arduino Uno. Le sketch utilise la bibliothèque légère U8g2 pour afficher un titre, une ligne de séparation et un compteur incrémental.
/*
 * ==================================================================
 *  Generated by Codey.online  —  https://www.codey.online
 * ==================================================================
 *  Project   : 0.96 Inch I2C OLED Display Demo
 *  Board     : Arduino UNO (arduino:avr:uno)
 *  Parts     : OLED Display 0.96 inch
 *  Libraries : U8g2 2.36.19
 *
 *  Codey Online is an AI-powered browser IDE for Arduino and ESP32.
 *  Describe your project and Codey writes the code, draws the wiring
 *  diagram and uploads it to your board, straight from the browser.
 *  This code is free to use, modify and share, without warranty.
 * ==================================================================
 */

#include <Wire.h>
#include <U8g2lib.h>

// Initialize U8g2 for 128x64 SSD1306 OLED using hardware I2C
U8G2_SSD1306_128X64_NONAME_1_HW_I2C u8g2(U8G2_R0, /* reset=*/ U8X8_PIN_NONE);

int counter = 0;

void setup() {
  Serial.begin(115200);
  u8g2.begin();
  Serial.println(F("OLED display initialized."));
}

void loop() {
  u8g2.firstPage();
  do {
    // Header
    u8g2.setFont(u8g2_font_ncenB08_tr);
    u8g2.drawStr(0, 12, "Arduino Uno + OLED");

    // Dividing line
    u8g2.drawLine(0, 16, 127, 16);

    // Counter value
    u8g2.setFont(u8g2_font_ncenB12_tr);
    u8g2.setCursor(0, 40);
    u8g2.print(F("Count: "));
    u8g2.print(counter);

    // Footer / status
    u8g2.setFont(u8g2_font_6x10_tr);
    u8g2.drawStr(0, 58, "Status: Running");
  } while (u8g2.nextPage());

  counter++;
  delay(1000);
}Bibliothèques nécessaires : U8g2 2.36.19
Wiring diagram and example code generated by Codey.online — https://www.codey.online
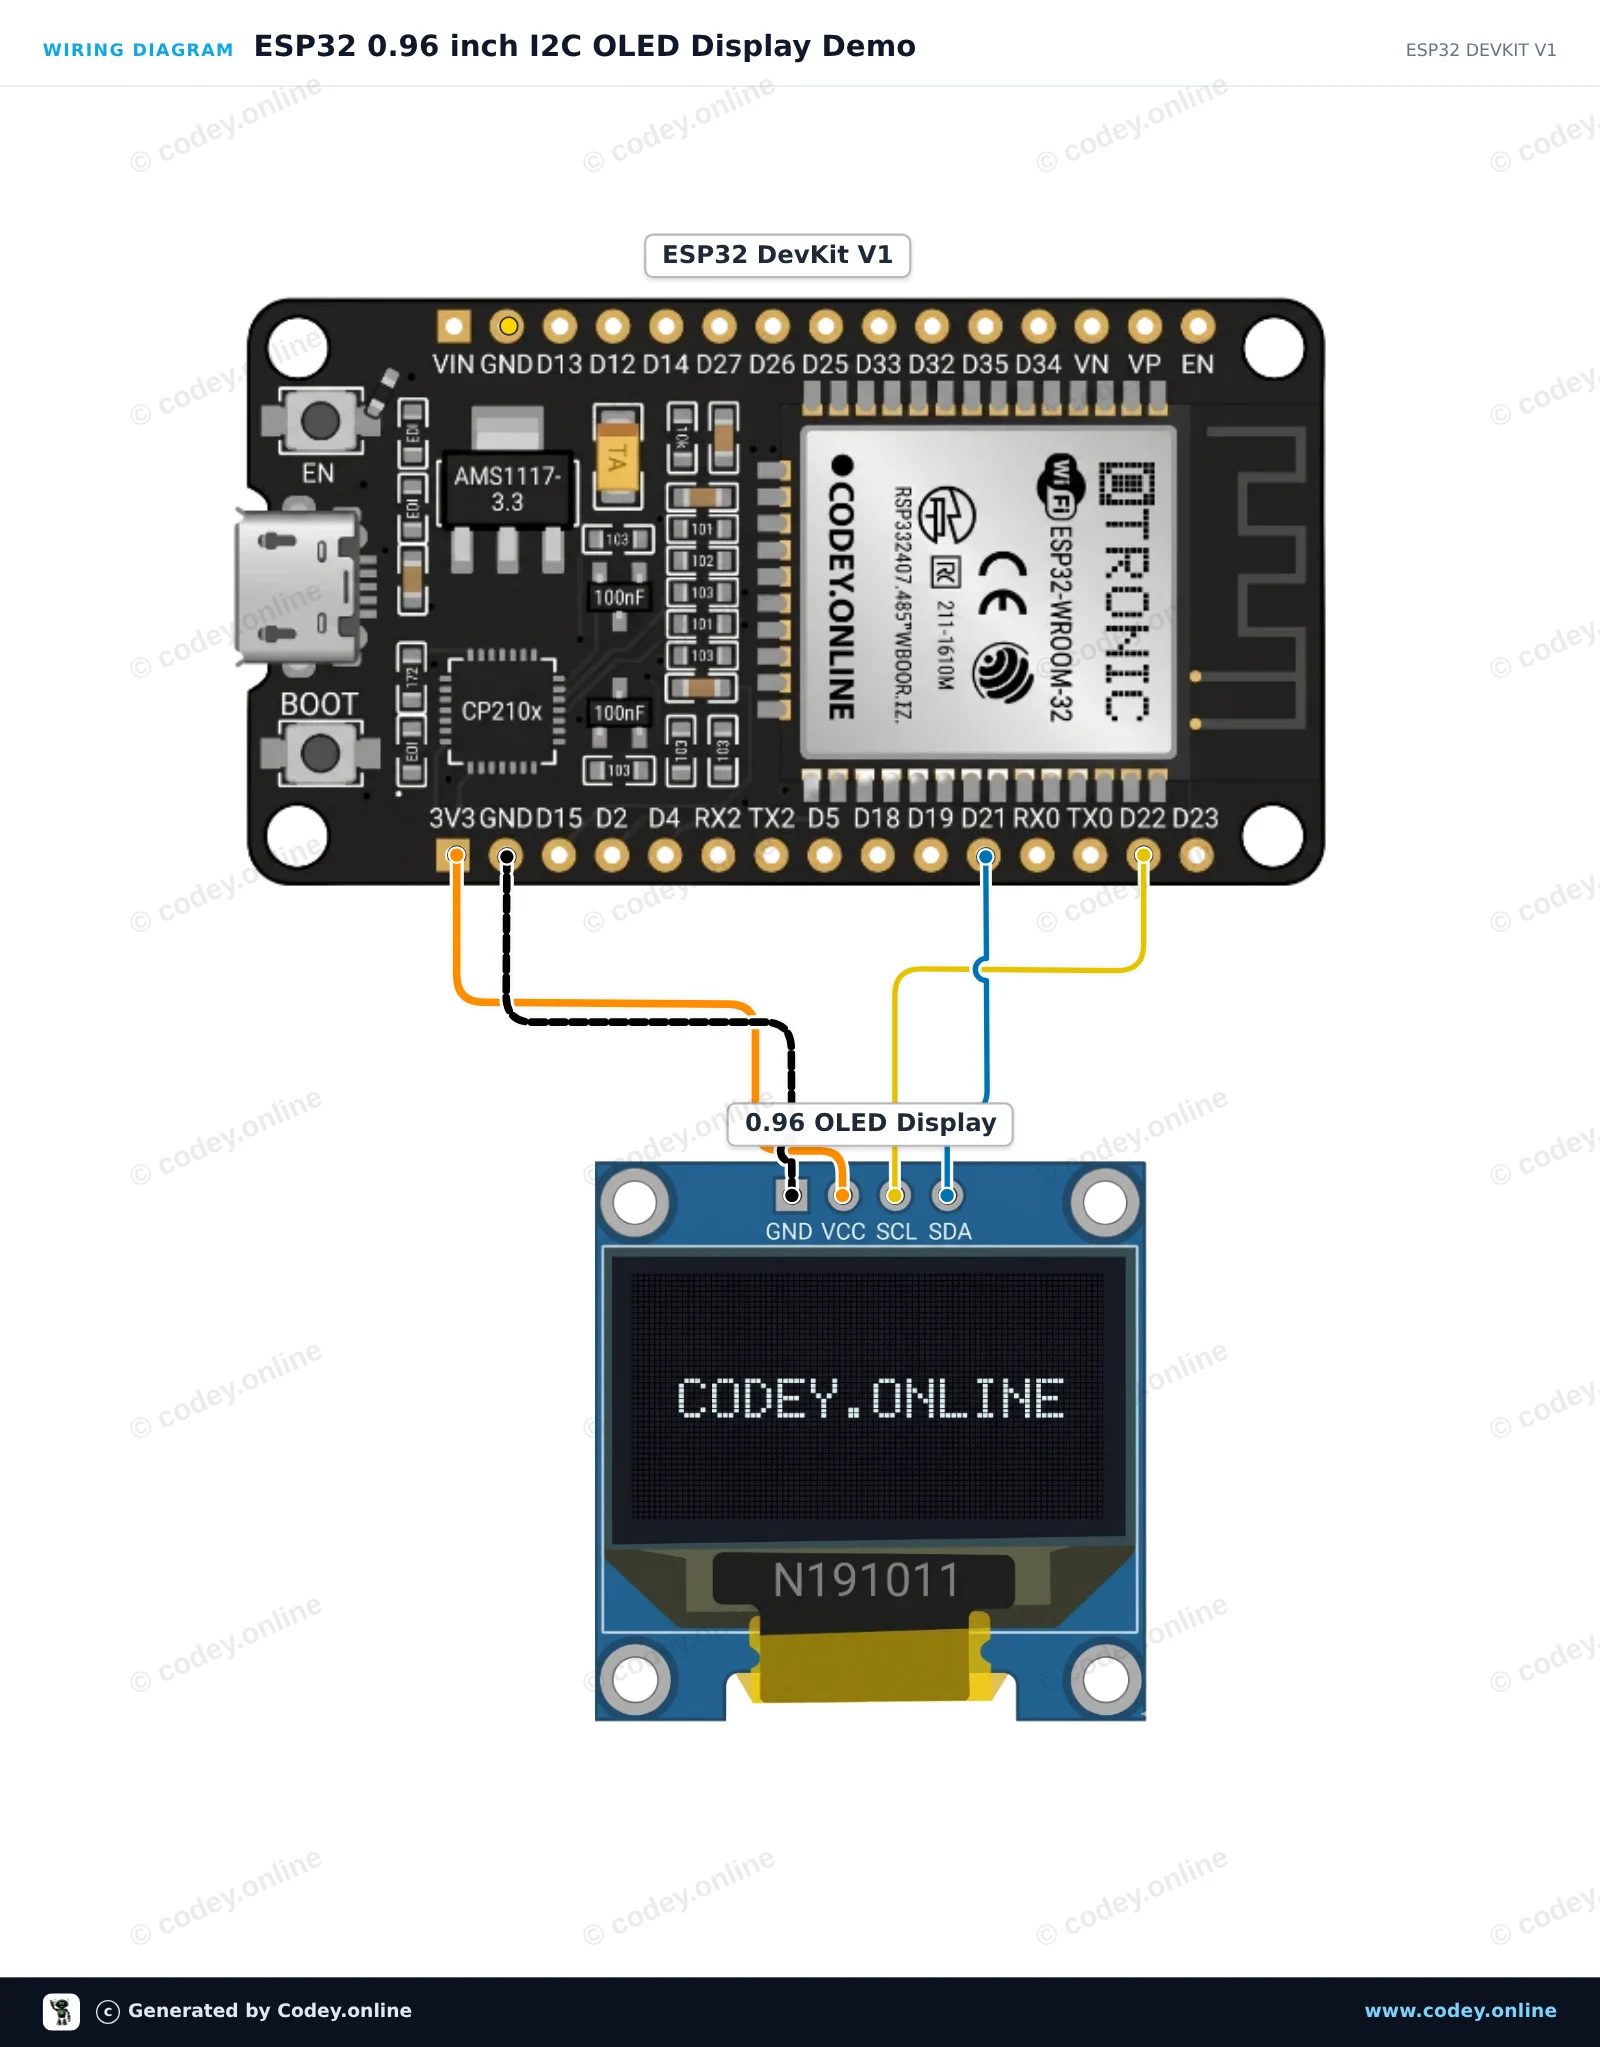
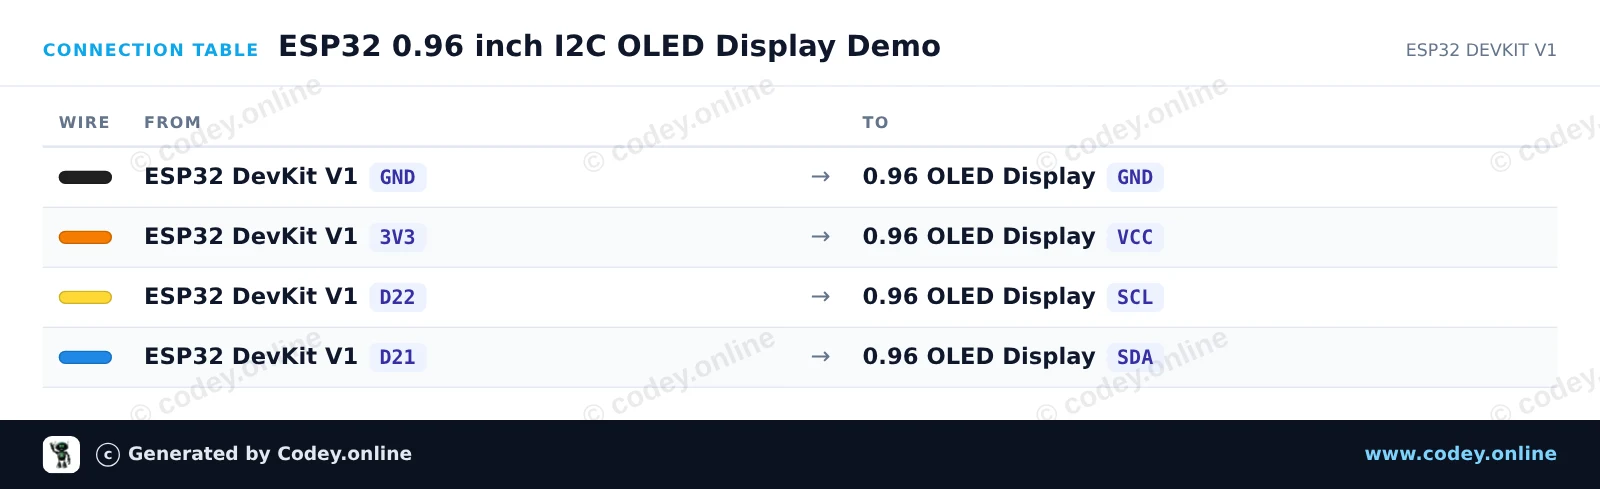
Ce projet montre comment connecter un écran OLED I2C de 0.96 inch à un ESP32. L’écran s’initialise avec les broches I2C par défaut (GPIO 21 pour SDA, GPIO 22 pour SCL) et affiche un texte de bienvenue ainsi qu’un compteur en direct qui se met à jour.
/*
 * ==================================================================
 *  Generated by Codey.online  —  https://www.codey.online
 * ==================================================================
 *  Project   : ESP32 0.96 inch I2C OLED Display Demo
 *  Board     : ESP32 DEVKIT V1 (esp32:esp32:esp32doit-devkit-v1)
 *  Parts     : OLED Display 0.96 inch
 *  Libraries : Adafruit SSD1306 2.5.16, Adafruit GFX Library 1.12.6
 *
 *  Codey Online is an AI-powered browser IDE for Arduino and ESP32.
 *  Describe your project and Codey writes the code, draws the wiring
 *  diagram and uploads it to your board, straight from the browser.
 *  This code is free to use, modify and share, without warranty.
 * ==================================================================
 */

#include <Wire.h>
#include <Adafruit_GFX.h>
#include <Adafruit_SSD1306.h>

#define SCREEN_WIDTH 128
#define SCREEN_HEIGHT 64
#define OLED_RESET    -1
#define SCREEN_ADDRESS 0x3C

Adafruit_SSD1306 display(SCREEN_WIDTH, SCREEN_HEIGHT, &Wire, OLED_RESET);

int counter = 0;

void setup() {
  Serial.begin(115200);

  // Default ESP32 I2C pins: SDA = GPIO 21, SCL = GPIO 22
  Wire.begin(21, 22);

  if (!display.begin(SSD1306_SWITCHCAPVCC, SCREEN_ADDRESS)) {
    Serial.println(F("SSD1306 allocation failed"));
    while (true);
  }

  display.clearDisplay();
  display.setTextColor(SSD1306_WHITE);
  display.setTextSize(1);
  display.setCursor(0, 0);
  display.println(F("ESP32 OLED Demo"));
  display.display();
  delay(1500);
}

void loop() {
  display.clearDisplay();

  display.setTextSize(1);
  display.setCursor(0, 0);
  display.println(F("ESP32 + SSD1306"));

  display.drawLine(0, 12, display.width(), 12, SSD1306_WHITE);

  display.setCursor(0, 20);
  display.print(F("Counter: "));
  display.setTextSize(2);
  display.setCursor(0, 36);
  display.print(counter);

  display.display();

  counter++;
  delay(1000);
}Bibliothèques nécessaires : Adafruit SSD1306 2.5.16, Adafruit GFX Library 1.12.6
Wiring diagram and example code generated by Codey.online — https://www.codey.online





 English
  Nederlands
  Deutsch
  Italiano
  Español
  Suomi
Suomi  Polski
  Dansk
Dansk  Ελληνικά
  Български
  Čeština
  Hrvatski
  Aileen